Creating a Data on Demand Endpoint
This topic provides instructions for creating a data on demand endpoint for a graphmart and provides information about the supported output formats and OData query operators.
- In the Anzo console, expand the Blend menu and click Graphmarts.
- On the Graphmarts screen, click the name of the graphmart for which you want to enable the data on demand service.
- Click the Data on Demand tab. On the Data on Demand screen, click the Create New Endpoint button. Anzo displays the Create New Endpoint screen.

- Type a name for the endpoint in the Endpoint Name field and an optional description in the Endpoint Description field. Make sure that the endpoint name is unique.
- By default the Enabled option is selected, indicating that the endpoint will be enabled when the configuration is saved. If you want to disable the endpoint, clear the Enabled check box.
If a request is sent to a disabled endpoint, Anzo displays a 503: Service Unavailable error with a message indicating that the endpoint is disabled. For example, "Unable to process request. The endpoint 'ExpandGM/TestEndPoint' is DISABLED."
- By default the Include all layers option is selected, indicating that all of the data layers in the graphmart will be available from the endpoint. If you do not want to enable all layers, clear the Include all layers checkbox. After you save the new endpoint, you can edit the configuration to specify which data layers to include.
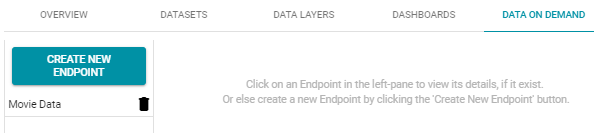
- Click Save. Anzo saves the configuration and adds the endpoint to the list of endpoints on the Data on Demand screen. For example:
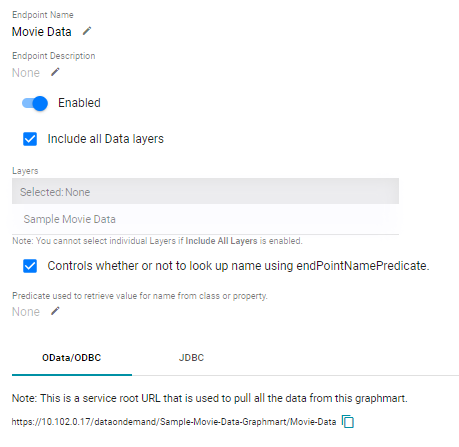
- Click the endpoint name to view the configuration details. For example:
- If you cleared the Include all Data Layers checkbox and want to include certain layers, click the Edit icon (
 ) next to Layers and select the layers to include. Click the checkmark icon (
 ) to save the change.
 -
If you want to specify the predicate value to use for the class and property display names values for the endpoint, such as the rdfs:label or dc:description for the entity, select the Controls whether or not to look up name using endPointNamePredicate option. Then specify the predicate to obtain the values from in the Predicate used to retrieve value for name from class or property field.
Specify a predicate from the related data model, such as
http://www.w3.org/2000/01/rdf-schema#labelto use each entity's Label value orhttp://purl.org/dc/elements/1.1/descriptionto use each entity's Description value.Note: If the Controls whether or not to look up name using endPointNamePredicate option is disabled, Anzo displays each entity's local name. If the Controls whether or not to look up name using endPointNamePredicate option is enabled but the Predicate used to retrieve value for name from class or property field is empty, Anzo automatically uses the value in the rdfs:label (http://www.w3.org/2000/01/rdf-schema#label) predicate.
- At the bottom of the screen, retrieve the OData/ODBC and JDBC service URLs that you can use to access the endpoint's data from applications.
See Anzo CData Driver Downloads and Documentation for information about the Anzo ODBC and JDBC drivers. For information about the supported OData operators, output format, and query examples, see OData Support and Examples.