Cloud Filter
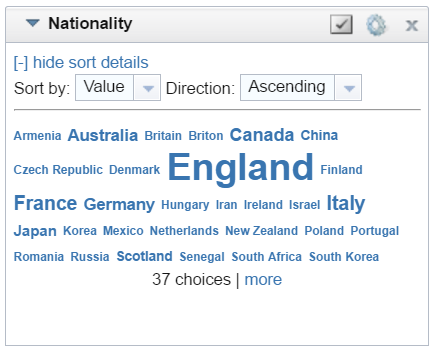
Cloud filters display values in term clouds where each term is written in a font size that represents the number of results for that value. Unlike list filters, which enable you to select and filter on multiple values at once, cloud filters allow you to filter on one value at a time. The cloud filter is available for all data types but cannot be with used relative paths, which are indicated by a path icon (![]() ) in the Create Filter dialog box.
) in the Create Filter dialog box.
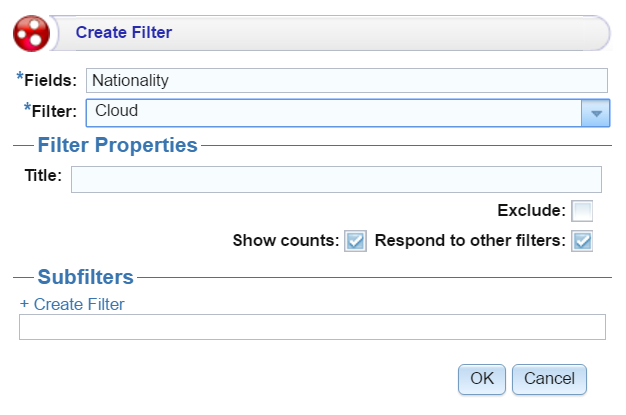
After selecting Cloud from the Filter drop-down, configure the following properties as needed:
| Field | Description |
|---|---|
| Title | Defines the filter title. |
| Exclude | Removes the selected property from the results. |
| Show counts | Displays the number of results for the term when you hover the pointer over a term in the cloud. |
| Respond to other filters | Indicates whether the results of this filter change based on selections in other filters on the dashboard. |
| Create filter | Creates a subfilter for this filter. |
When you have completed the configuration, click OK to create the filter. The new filter appears on the dashboard. You can click a value in the cloud to display only those data points in the lens.
Example
| Field | Description |
|---|---|
| [+] show sort details | Reveals the following fields:
Sort by: Select Value to sort string values alphabetically, or select Count to order results according to the total number of results for each value. Direction: Select Ascending to order results starting at the top. For strings, the alphabet starts at the top. Or select Descending to order results starting at the bottom. |
| Designer ( |
Click to open the Designer and reconfigure the filter. |
Close ( ) ) |
Click to close the filter and remove it from the dashboard. This action cannot be undone. |