Cloning an Existing Data Layer
Follow the steps below to create a new Data Layer by copying an existing one from any Graphmart.
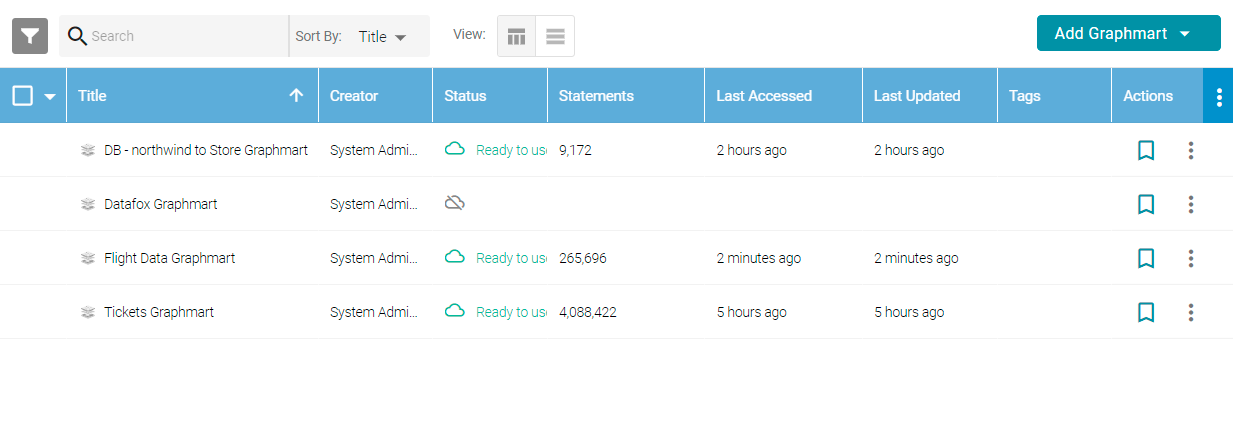
- In the Anzo application, expand the Blend menu and click Graphmarts. Anzo displays a list of the existing Graphmarts. For example:
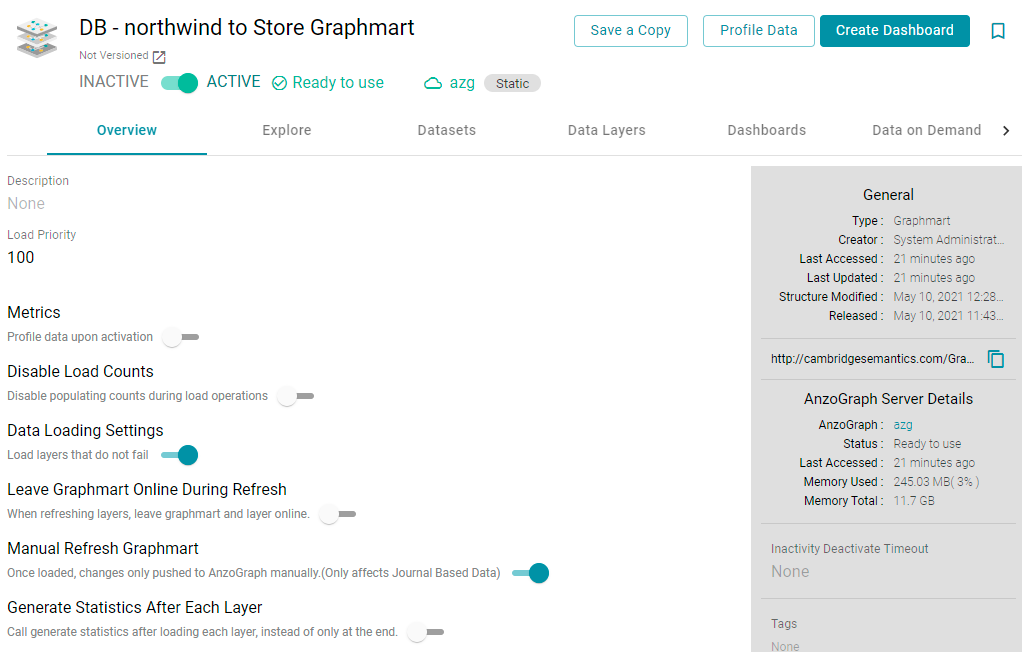
- Click the name of the Graphmart that you want to add a Data Layer to. The Overview tab is displayed. For example:
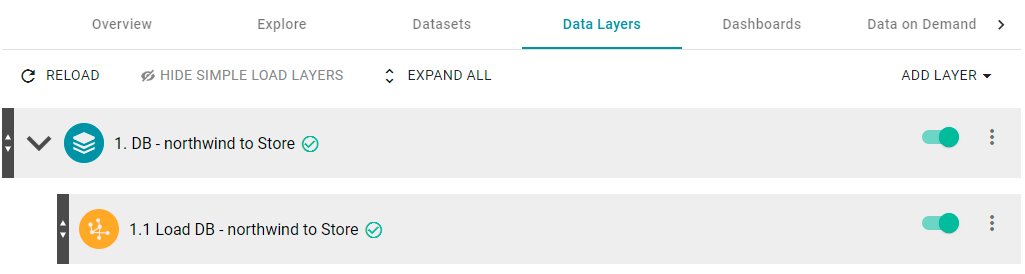
- Click the Data Layers tab. Anzo displays the existing data layers. For example:
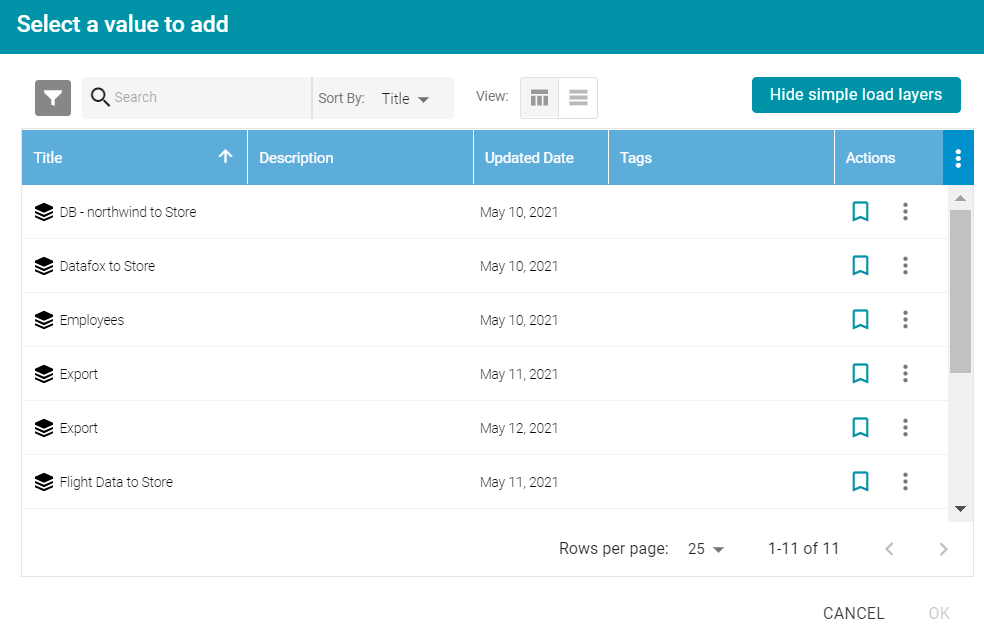
- click Add Layer and select Add Existing. Anzo opens the Select a value to add dialog box, which lists the existing layers for all Graphmarts. For example:
- Select the layer that you want to copy and click OK. The Clone dialog box is displayed. For example:
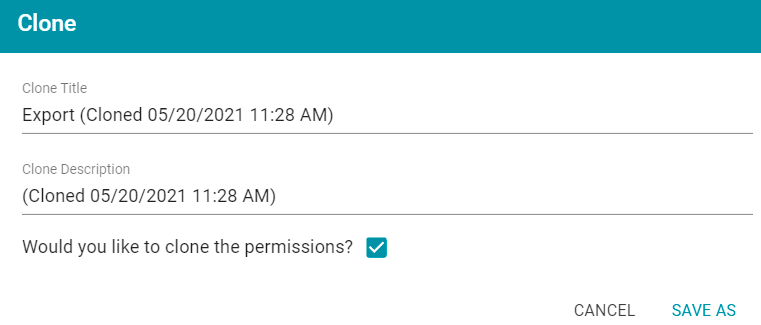
- In the Clone dialog box, you have the option to edit the Clone Title and/or Clone Description.
- By default, the cloned version of the layer is set to copy the permissions from the original layer. If you would not like the cloned version to inherit the same permissions, clear the Would you like to clone the permissions checkbox.
- Click Save As to add the cloned layer and any steps that the layer contains to the Graphmart.
The new layer becomes the last layer in the Graphmart. For example, the image below shows a new layer called Employees:
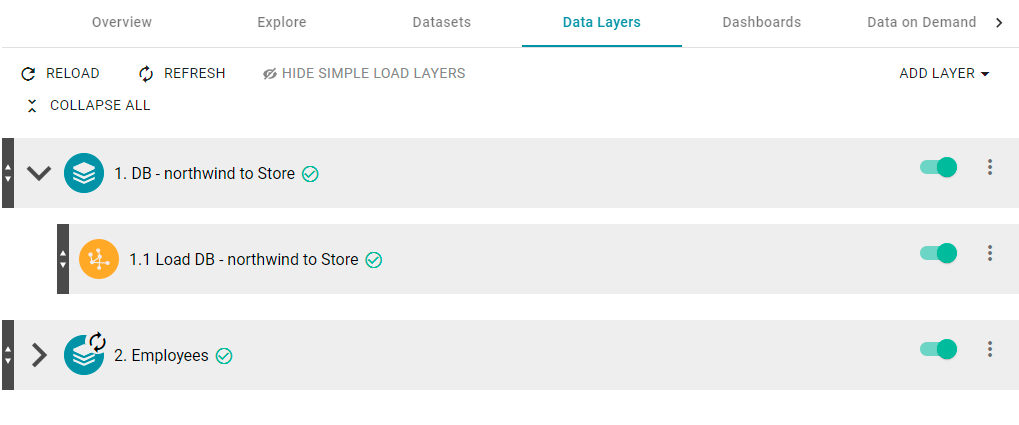
If you want to change the order of the layers, you can click the black bar on the left side of a layer and drag the layer up or down. Data Layers are processed from top to bottom.
The Refresh icon (![]() ) on the new layer indicates that the layer is out of sync with the data that is in AnzoGraph. Once you configure the new layer and add data processing steps, you can click the Reload button (
) on the new layer indicates that the layer is out of sync with the data that is in AnzoGraph. Once you configure the new layer and add data processing steps, you can click the Reload button ( ) at the top of the screen to reload the entire Graphmart, or you can click the Refresh icon (
![]() ) on the layer to reload only that layer.
) on the layer to reload only that layer.
Next, proceed to Configuring Data Layers if you want to configure options such as Execution Conditions and Masking for the Layer. See Adding Steps and Views to Data Layers instructions on creating Steps.