Exploring Data Provenance
The Anzo provenance explorer enables you to trace the lineage of your structured data. You can search for data entities and view associated projects, data sources, models, and schemas. This topic provides information about using the provenance explorer.
- To open the provenance explorer, click Provenance in the Anzo application.
- Click in the gray Search box and type a value to search for. Anzo populates the table in the search drop-down box with any projects, data sources, models, and schemas that include the search value. For example, searching for "movie" displays the pipelines, sources, classes, properties, and schemas that include "movie" and its relationships. Click the plus icon (
 ) to view any related elements.
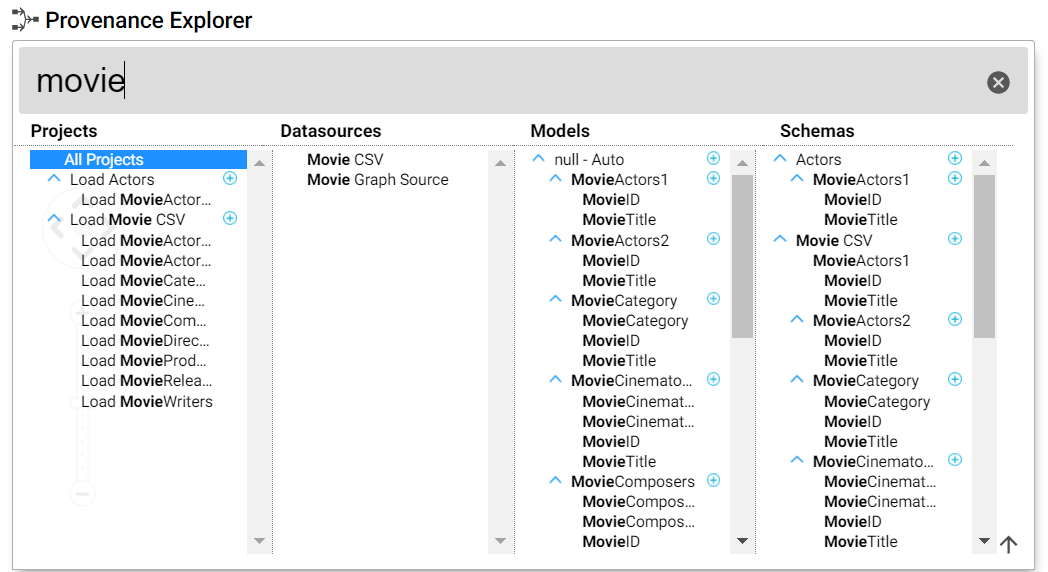
- To view the provenance for any of the pipeline, data source, model, or schema objects, click the object to highlight it, and then click outside of the search drop-down. Anzo displays the provenance graph for the item that you selected. For example, the image below shows the provenance for the sample Movie data set:
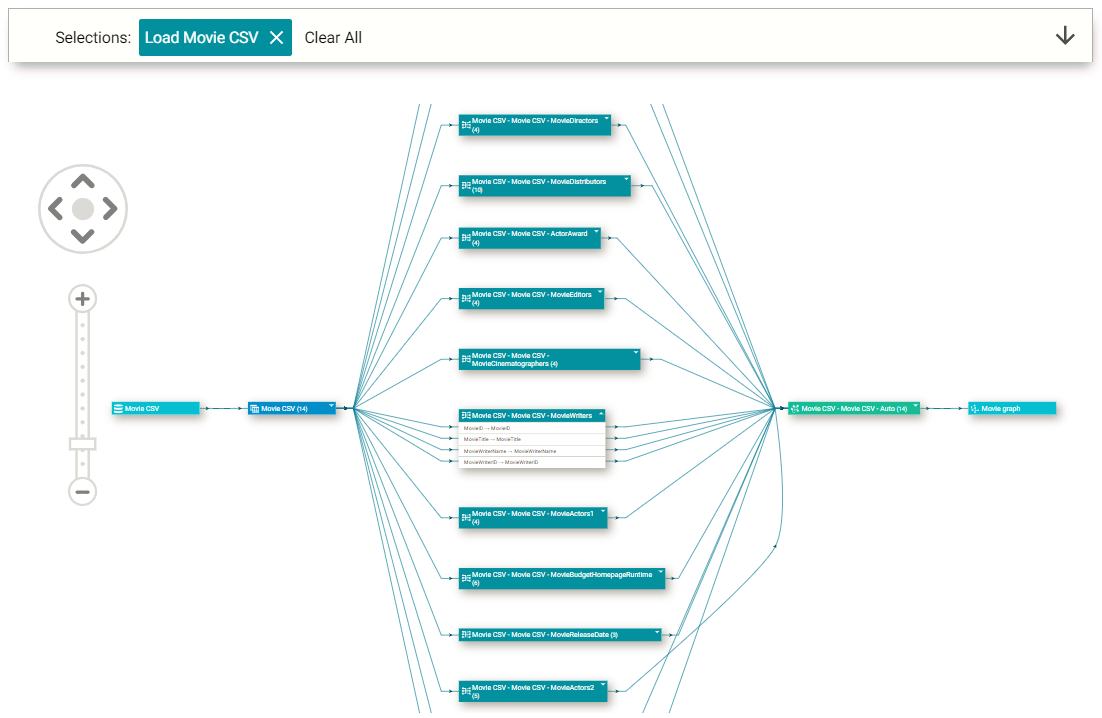
Viewing the provenance graph from left to right, the first object shows the data source, Movie CSV in the example:

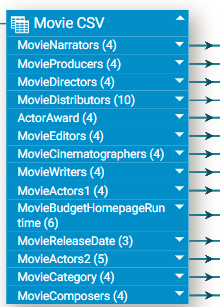
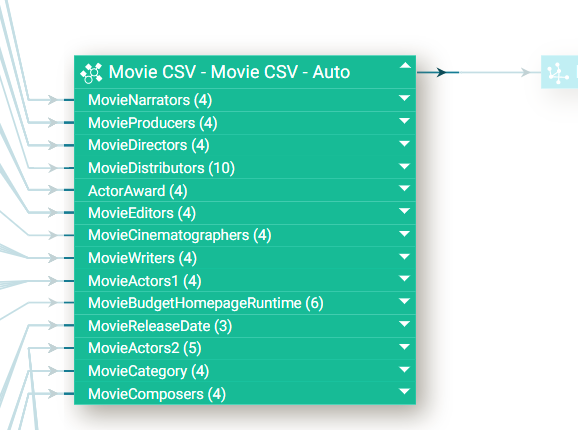
The second object shows the data that came from the data source, 14 Movie CSV files as shown in the example. To expand the rectangle to view the files and additional details such as the schema information or list of properties from each file, click the triangle icon on the top right of the rectangle:

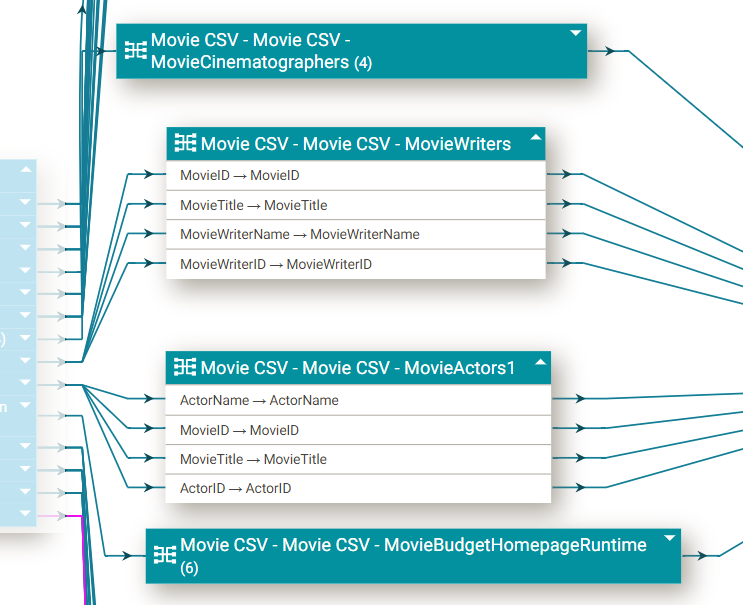
The third group of objects in the graph show the mappings that Anzo generated from the source schemas:
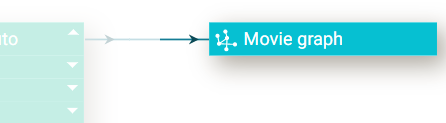
The fourth object shows the model or ontology that Anzo generated:
And the final object shows the graph data source where Anzo generated the load files after ingestion.
- To view the provenance graph for a different object, click in the search box and then choose an item from the drop-down. Click out of the search box to view the graph.
The provenance explorer includes navigation tools that you can use to zoom in or out of the graph or move the graph on the screen.

To view different regions of the graph, click the > characters to move the graph vertically or horizontally. You can also click and drag the graph on the screen. Click the plus and minus icons to zoom in and out. You can click and drag the individual tables to rearrange them in the graph or collapse and expand tables or columns using the triangle icons to the right of the table or column name.