Creating a Drill Down Lens
Drill down lenses combine other lenses into a hierarchical interface. Clicking on an object in one lens opens the next lens in successive order. Follow the steps below to create a drill down lens.
- In the dashboard that you want to add a lens to, click Lenses in the main toolbar and select New. The Create Lens dialog box is displayed:
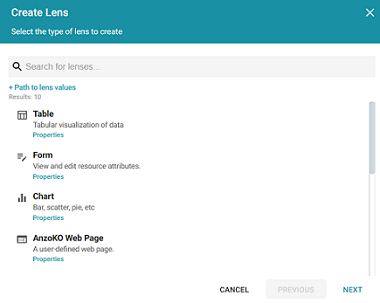
- On the Create Lens dialog box, select Drill Down, and then click Next. Graph Studio displays the General Information dialog box.
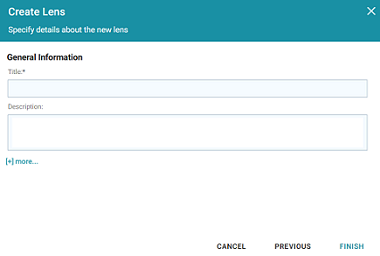
- Type a Title and optional Description for the lens.
- Click Finish. The lens Designer dialog box is displayed so that you can configure the lens.
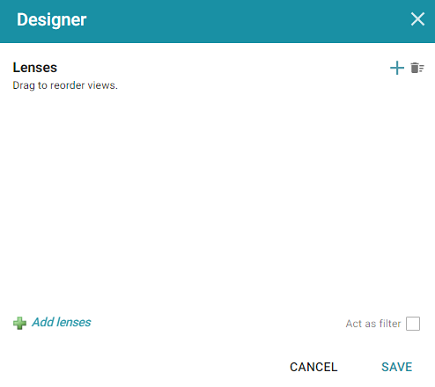
- Drill down lenses do not require any property selections or format configurations. Click the plus icon (
 ) at the top or bottom of the Designer to add the lenses to include in the drill down functionality. The lens listed first becomes the first lens in the hierarchy. Clicking a drill down icon takes you to the next lens. You can drag the lenses in the Designer to change the display order.
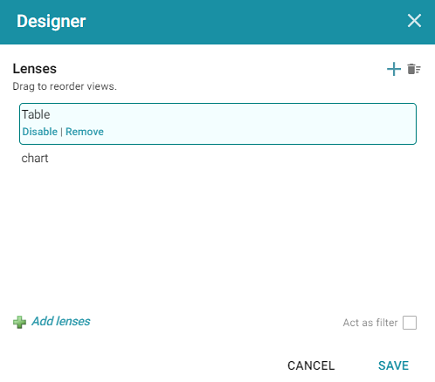
- When you finish adding lenses, click Save. Graph Studio adds the drill down functionality to the dashboard, and you can configure each lens in the hierarchy using the Designer for that lens.
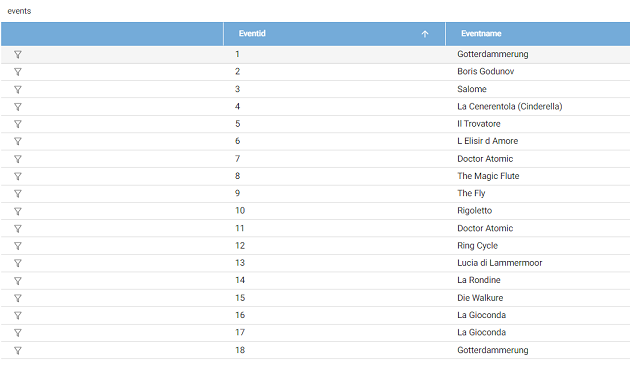
The image below shows a dashboard with drill down functionality. Clicking the drill down icon (![]() ) in the left column displays a chart lens, which shows details about the venue for that event:
) in the left column displays a chart lens, which shows details about the venue for that event: