Assigning Primary Keys in a Schema
If you have a data source without primary keys and you want to be able to create relationships, you can assign primary keys in the schema. Follow the instructions below to edit a schema and assign primary keys. For instructions on creating foreign keys, see Adding Foreign Keys.
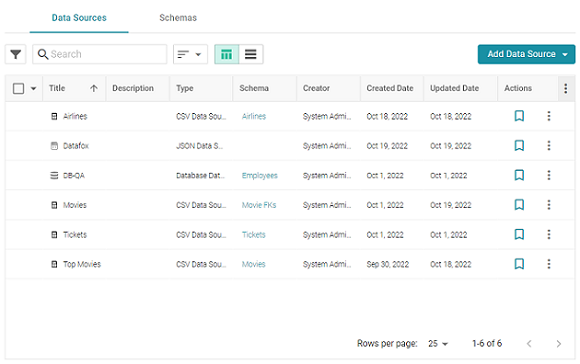
- In the Graph Studio application, expand the Onboard menu and click Structured Data. Graph Studio displays the Data Sources screen, which lists any existing data sources. For example:
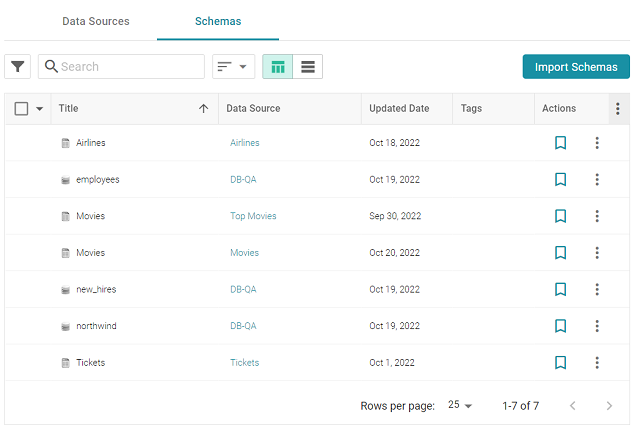
- Click the Schemas tab to view the list of all schemas. (You can also access a schema by selecting the data source that contains the schema.) The image below shows a view of the Schemas tab:
- Click the schema for which you want to assign primary keys. Graph Studio displays the Tables tab for the data source that contains the schema. For example:
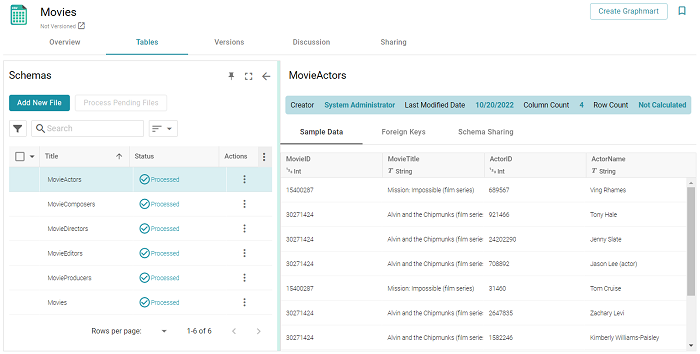
- On the left side of the screen select the table for which you want to assign a primary key.
- On the right side of the screen, find the column that you want to label as the primary key. Hover your pointer over the column name to display additional icons. Edit and Delete icons replace the data type under the column name. For example:
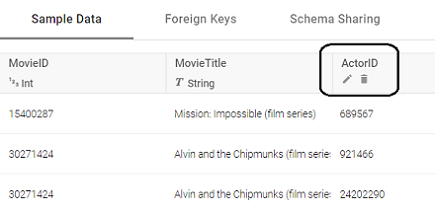
- Click the edit icon (
 ). The Edit dialog box is displayed. For example:
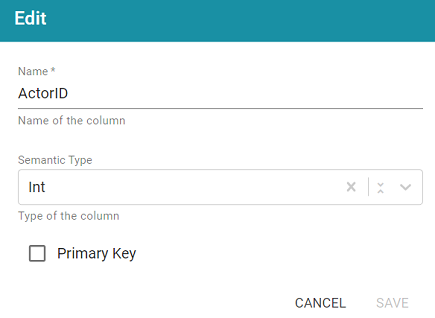
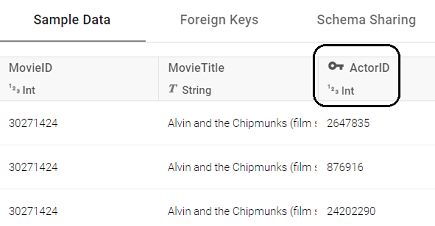
- On the Edit screen, select the Primary Key checkbox. Then click Save to save the change. The column is now the primary key for the table, and a key icon is displayed next to the column name. For example:
Repeat the steps above to assign primary keys for additional tables. For instructions on creating foreign keys, see Adding Foreign Keys.