Unmounting a Volume
One way to free up system resources when necessary is to unmount unused volumes or take them offline. For example, if users run unstructured pipelines without limiting the creation of status journals (as described in Limiting the Number of Unstructured Status Journals), there may be dozens of volumes online that are not being queried but are using system threads. If a volume might be needed in the future, you can take it offline to preserve system resources. If a volume will not be used in the future, you can unmount or delete it. If you unmount a volume, you can remount it later if needed (see Mounting an Existing Volume). If you delete a volume, the volume is removed from disk and cannot be recovered.
Follow the steps below to take offline, unmount, or delete a volume.
- In the Administration application, expand the Servers menu and click Volume Manager. The Volume Manager screen displays the list of existing user-defined volumes. To access system volumes, such as unstructured pipeline status journals, click the filter icon and select Only show system data in the Filters panel.
- In the list of volumes, you can delete a volume by clicking the trashcan icon (
 ) in the row for that volume. Note that deleting a volume deletes it from disk. To unmount a volume or take it offline, click the volume that you want to configure. The Configuration screen for that volume is displayed. For example:
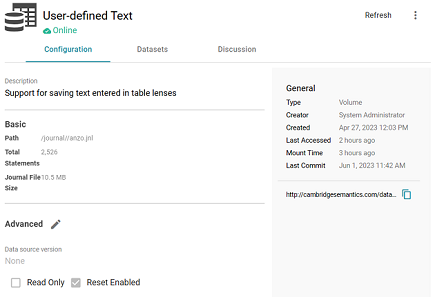
- On the top right of the screen, click the menu icon (
 ) to display the options:
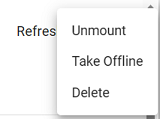
- Select Unmount to unmount the volume but leave it on disk, select Take Offline to take the volume offline but leave it mounted, or select Delete to delete the volume from disk.