Changing Anzo Server Settings
This topic provides instructions for changing Anzo server settings as well as reference information for each of the options.
Changing Settings
- In the Administration application, expand the Servers menu and click Server Settings. The Server Settings screen is displayed. The options that you can configure are described on the screen:
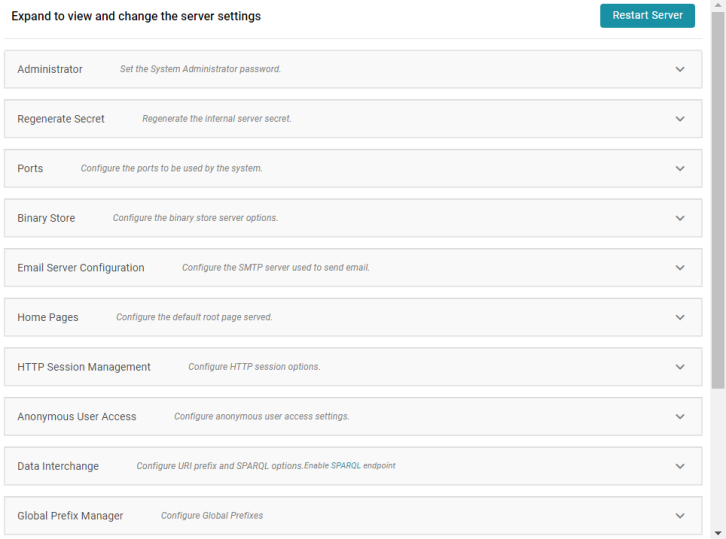
- To change the configuration, expand an option to display the related settings. Then click the Edit button and specify the desired value for each setting. For specifics about each option, see Settings Reference below.
You can have one option open for editing at a time. If you are in the process of modifying an option and have not saved the changes, all other Edit buttons are disabled until you save or cancel the changes.
- Click Save to save the changes, and then restart Anzo to complete the configuration change.
After changing any of the server configuration settings, you must restart Anzo to apply the change.
Settings Reference
This section provides reference information for each configuration option.
- Set the System Administrator Password
- Regenerate the Internal Server Secret
- Configure the Ports to be Used by the System
- Configure the Binary Store Server Options
- Configure the SMTP Server Used to Send Email
- Configure the Default Root Pages
- Configure HTTP Session Options
- Configure Anonymous User Access
- Configure URI Prefix and SPARQL Options
- Configure Global Prefixes
- Configure the Versioning Environment
- Configure Network Connections to an Anzo Distributed Unstructured Cluster
- Configure the Default ETL Engine
- Configure the Default Anzo Data Store
Set the System Administrator Password
To change the system administrator (sysadmin) password, expand the Administrator option and click Edit.
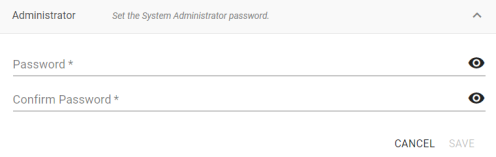
Type the new password in the Password and Confirm Password fields. Then click Save.
Regenerate the Internal Server Secret
Regenerating the secret requires a restart of Anzo. In addition, Cambridge Semantics recommends that you back up the current Anzo installation before regenerating the secret.
- To change the password for the Anzo key and trust stores, expand the Regenerate Secret option and click Edit.

- To proceed, click the Regenerate Secret button. Review the confirmation message that is displayed and click Yes to generate a new secret.
Anzo generates the new secret and presents a dialog box that displays the encrypted secret to copy. For example:
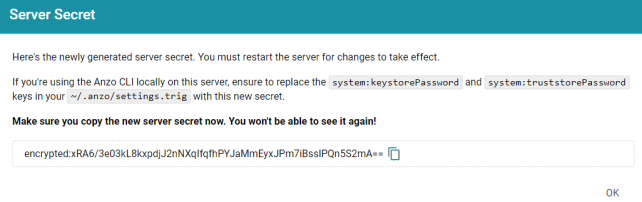
- Make sure you copy the secret because it is not possible to view again.
- If you regenerated the secret on a server where the Anzo Admin CLI is used, the new secret also needs to be changed in the
~/.anzo/settings.trigfile for the Anzo service user. To replace the secret insettings.trig, follow these steps:- Open
~/.anzo/settings.trigfor editing. - Locate the
system:keystorePasswordandsystem:truststorePasswordproperties. - Replace both the object values for both properties with the secret that was copied in step 3. Replace only the content between the quotation marks as shown below:
system:keystorePassword "<new_secret>"^^anzo:password ;
system:truststorePassword "<new_secret>"^^anzo:password ;
- Save and close settings.trig.
- Open
- Restart Anzo to apply the new secret.
Configure the Ports to be Used by the System
To change, enable, or disable the Anzo server ports, expand the Ports option and click Edit.
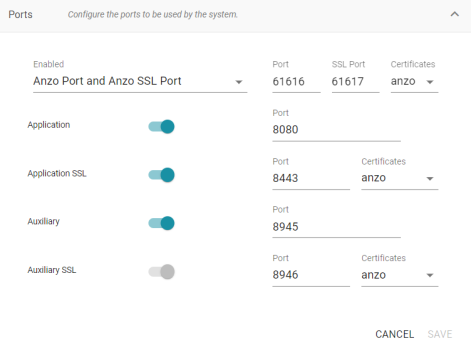
Change the values in the Port fields to specify alternate port numbers. To enable or disable a port, move the slider next to the application name to the left or right. The list below describes the settings:
- The fields at the top of the screen specify the Anzo server ports. By default, the Anzo and Anzo SSL ports are enabled. If you want to disable one of the ports, click the Enabled drop down list and select the option that you want to leave enabled. To change port numbers, click in the Port field and specify the port.
- The Application and Application SSL ports are the HTTP and HTTPS client application ports.
- The Auxiliary and Auxiliary SSL ports are the HTTP and HTTPS Administration client ports.
For information about managing the certificates to use for the SSL ports, see Replacing the Anzo Certificate.
Configure the Binary Store Server Options
To change the host server for the binary (blob) store, expand Binary Store and click Edit.
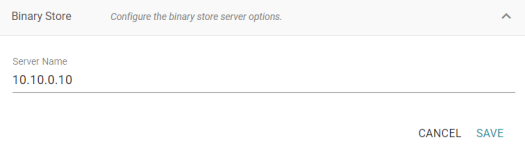
The Server Name defaults to the host name or IP address for the Anzo server. To specify a different host for the binary store, type the new host name or IP address in the Server Name field, and then click Save.
Configure the SMTP Server Used to Send Email
To configure an SMTP server for sending email, expand Email Server Configuration and click Edit.
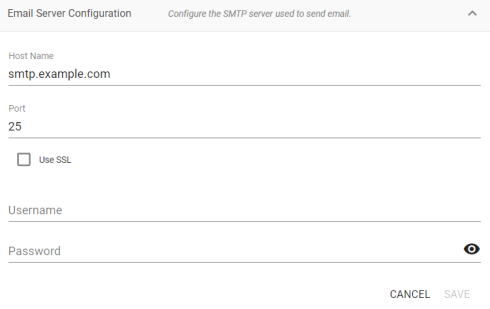
- Host Name is the host name or IP address for the SMTP server.
- Port is the port for the connection.
- If the email server is configured for SSL authentication, select the Use SSL checkbox to enable SSL authentication.
- Specify the Username and Password to use for authentication.
Configure the Default Root Pages
To change the home page path for the Anzo application and Administration application URLs, expand Home Pages and click Edit.
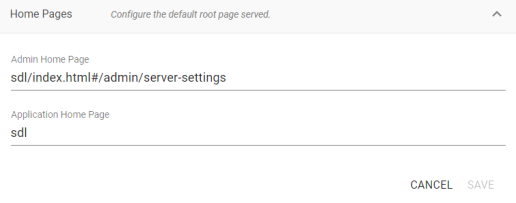
- The Admin Home Page is the home page path for the Administration application.
- The Application Home Page is the home page path for the Anzo application.
Configure HTTP Session Options
To configure the HTTP session timeout value, expand HTTP Session Management and click Edit.
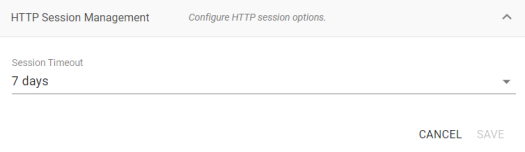
Click the Session Timeout drop-down list and select the timeout value.
Configure Anonymous User Access
Anonymous User Permissions
When anonymous access is enabled:
- The server allows any user to connect to the Hi-Res Analytics application without a username and password. A user can connect to without having an account in Anzo.
- Anonymous users are considered members of the Everyone role. Anonymous users can read data in Anzo that is tagged as readable by Everyone.
Anonymous User Limitations
Anonymous users cannot:
- Add, delete, or modify data. Anonymous users cannot write or delete data even if the Everyone role has write or delete access.
- Change permissions on the artifacts in Anzo. Anonymous users cannot change the Sharing or Security tab settings for any data on the server even if the Everyone role has write or delete access to an artifact's metadata.
Important Considerations
This section lists important ideas to consider before enabling anonymous access.
Consider Existing Access Control
Users might have been permissions without anticipating that users could have anonymous access. Before enabling anonymous access, consider that data that is viewable by the Everyone role becomes visible to anonymous users. You might need to change the permissions for existing data, such as by granting read access to the Authenticated Users role instead of the Everyone role. For more information about permissions, see Predefined Anzo Roles and Permissions.
Consider Server Network Protections
Consider that anyone who can reach the server via the network will be able to use it as an anonymous user. Evaluate firewalls and other network protection mechanisms to limit access to the Anzo server as desired. For example, you might want to allow anonymous access to anyone inside your organization's internal network but disable access to the server from the public internet.
Anonymous Access Can Be Useful
Allowing anonymous access makes it easy to share data and views of data with others. For example, it means that you can share your Hi-Res Analytics dashboards with people who do not have a user account. It also lets you embed read-only interactive Hi-Res Analytic views inside other websites.
Configuring Anonymous Access
To enable or disable anonymous user access, expand Anonymous User Access and click Edit.
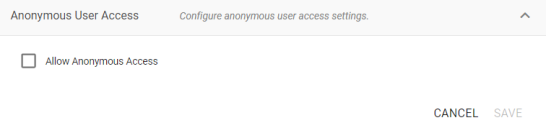
To enable anonymous access, select the Allow Anonymous Access checkbox. To disable anonymous access if it is enabled, clear the checkbox. Then click Save.
Configure URI Prefix and SPARQL Options
To enable or disable the Anzo SPARQL endpoint or customize the URI prefix that Anzo generates for data identifiers, expand Data Interchange and click Edit.
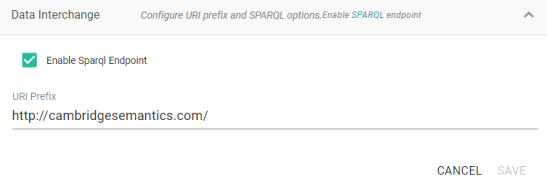
- If you want to enable or disable the Anzo SPARQL endpoint, select or clear the Enable SPARQL Endpoint checkbox.
- To change the prefix that Anzo uses when generating URIs, type the new value in the URI Prefix field. The URI Prefix is mostly used for consistency in internal data, but it is also used by default for data model URI prefixes when the model does not define the URI template to use. When changing the URI Prefix, make sure that the value is a valid prefix. See Relative IRIs in the SPARQL Query Language specification for more information.
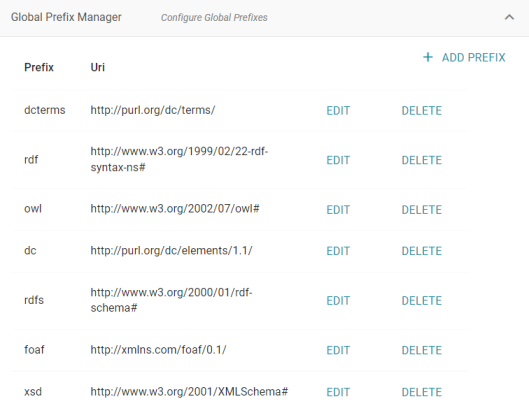
Configure Global Prefixes
The Global Prefix Manager stores standard prefixes and any custom prefixes that you want Anzo to recognize globally. Defining global prefixes creates shortcuts for inserting the prefixes in Query Builder and data layer queries. To manage global prefixes, expand Global Prefix Manager:
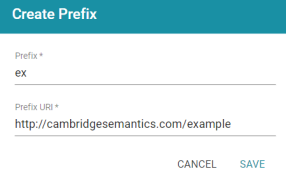
To add a prefix, click Add Prefix. Anzo opens the Create Prefix dialog box. In the Prefix field, specify the abbreviation that you want to use to represent the URI. In the Prefix URI field, specify the full, valid URI. For example:
Click Save to save the definition. To use global prefix shortcuts in the Anzo application, type "prefix" followed by a space in the Query Builder or a Query Step to open a tooltip that lists the global prefixes. For example:
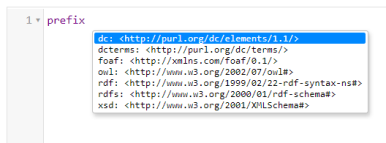
Clicking a prefix inserts a PREFIX statement into the query. In addition, typing the abbreviation for a global prefix followed by a colon (:) automatically inserts the PREFIX statement into the query without opening the tooltip. For example, typing ex: inserts a statement for the prefix that was defined in the example above.
Configure the Versioning Environment
To change the variable value for the Version Environment tag that is displayed at the top of the Anzo application and that Anzo adds to archived versions of entities, expand Versioning and click Edit.
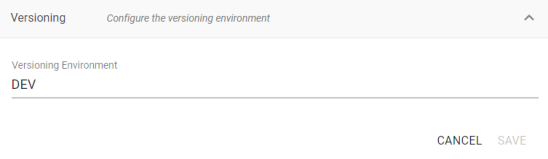
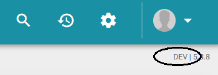
Edit the value in the Versioning Environment field and click Save. The images below show examples of the version tags that are controlled by the Versioning Environment setting. This image shows the version at the top of the Anzo application:
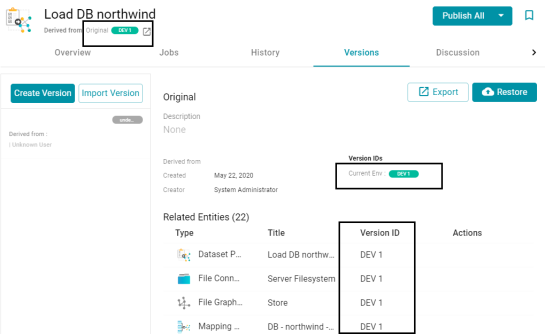
For artifact versions, the black rectangles in the image below highlight the areas where the environment version variable value is displayed:
Configure Network Connections to an Anzo Distributed Unstructured Cluster
To change the network settings for an Anzo Distributed Unstructured cluster, expand Distributed Pipeline and click Edit.
If the Kubernetes infrastructure is set up to deploy Anzo Unstructured clusters on-demand, you do not need to configure these settings. For information about Kubernetes-based deployments, see Configuring K8s for Dynamic Deployments.
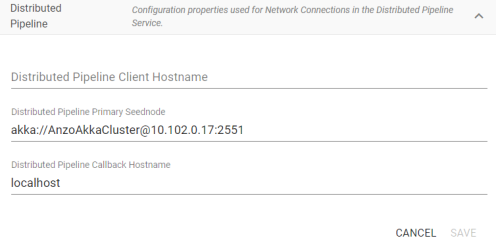
Modify the settings as needed:
- Distributed Pipeline Client Hostname: The hostname or IP address for the Anzo Unstructured leader instance.
The value must be a routable IP address or hostname. If the leader instance is installed on the Anzo host server, specify the IP address or hostname of the server; do not use 127.0.0.1 or localhost.
- Distributed Pipeline Primary Seednode: The IP address and port for the leader instance. By default the leader port is 2551.
- Distributed Pipeline Callback Hostname: The hostname or IP address for the Anzo Unstructured leader instance. Typically this is the same value as the Distributed Pipeline Client Hostname.
Configure the Default ETL Engine
To set the default ETL engine so that it is automatically selected when users set up ingestion pipelines, expand Default ETL Engine Config and click Edit.
![]()
Click the ETL Engine Config drop-down list and select the ETL engine to make the default engine. Then click Save.
Configure the Default Anzo Data Store
To set the default Anzo Data Store so that so that it is automatically selected when users set up ingestion pipelines, expand Default Anzo Data Store and click Edit.
![]()
Click the Anzo Data Store drop-down list and select the data store to make the default store. Then click Save.