Importing a Predefined Schema
Follow the steps below to import a predefined schema from the source database to Anzo.
You can import or create up to 5 schemas per database data source. To include more than 5 schemas, create another data source for the additional schemas.
By default, Anzo is configured to exclude Views from the list of available Schemas to import. For information about including Views as tables that can be imported, see Including Views as Schemas for Database Data Sources.
- In the Anzo application, expand the Onboard menu and click Structured Data. Anzo displays the Data Sources screen, which lists any existing sources. For example:

- Click the database for which you want to create a schema. Anzo displays the Tables tab for the source. For example:
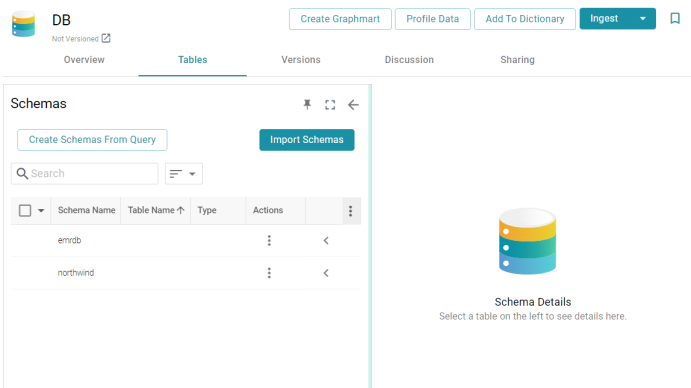
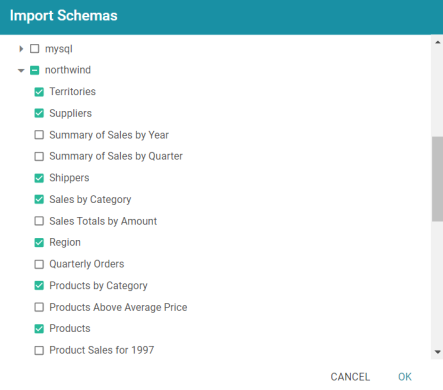
- Click the Import Schemas button. Anzo displays the Import Schemas dialog box, which lists any predefined schemas in the database. For example:

If you do not see a schema that you expect to see, make sure that you have the necessary access to the data source.
- To import an entire schema, select the checkbox next to each schema that you want to import. If you want to import a subset of the tables in a schema, expand the schema and select the checkbox next to each table that you want to include. For example:
- When you have finished selecting schemas, click OK. Anzo imports the selected schemas and lists the imported schemas on the Tables tab. For example:
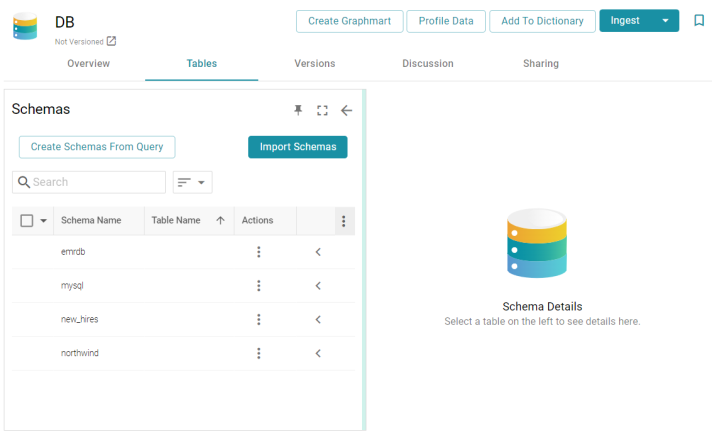
Once the schemas are imported, they are listed on the left side of the screen. You can expand a schema to view its tables. Selecting a row in the schema displays the sample data on the right side of the screen. Now that a schema has been defined, the source data can be onboarded to Anzo. If you use the Spark ETL pipeline workflow, see Ingesting Data Sources via ETL Pipelines. If you do not use Spark, see Directly Loading Data Sources via Graphmarts for next steps.