Auto-Expanding a Network View
When you add nodes to a Network View, the Network Navigator Dashboard is configured by default to add only the selected nodes and paths to the View without automatically expanding the paths to show related nodes. You have the option to enable the Auto-Expand feature in the Dashboard Designer, however, so that the network is automatically expanded by the specified number of degrees any time a new node or path is added to the View. To configure a dashboard to auto-expand, follow the steps below.
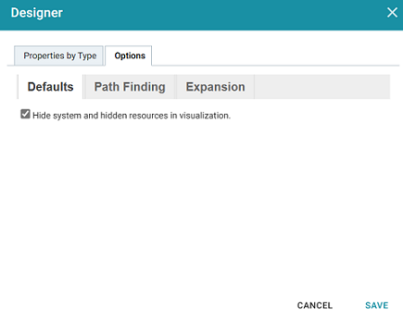
- Open in the Hi-Res Analytics application the Network Navigator Dashboard that you want to configure.
- In the main toolbar, click the Designer button. The Designer opens and the Properties by Type tab is displayed. Click the Options tab:
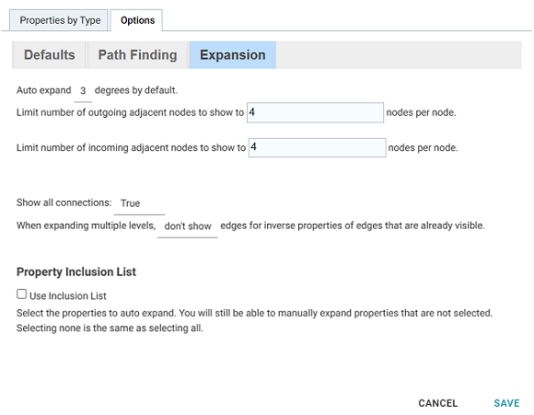
- Click the Expansion tab to view the expansion options. For example, the image below shows the default configuration.
- On the Expansion tab, configure the options as needed:
- Number of Degrees to Expand: At the top of the screen, select the default number of degrees (hops) to auto-expand. The options are 0 – 6. When this option is set to a value greater than 0 and a node is added to a View in the dashboard, Anzo automatically populates the View with the nodes and paths that are N or fewer hops from the added node, where N is the specified value. If the View does not auto-expand when a node is added, that means there are no paths to or from that node that are N or fewer hops.
- Show All Connections: This option controls whether or not all connections are shown for all nodes.
- Show or Hide Inverse Edges: When auto-expanding the network multiple levels, this option controls whether to show or hide the inverse edges, i.e. whether or not to show both the incoming and outgoing connections to the same nodes. When this option is set to don't show, only one edge (path) will be shown between nodes. When this option is set to show, both the incoming and outgoing paths will be displayed.
- Limit the Number of Adjacent Nodes: This option controls the number of adjacent nodes to show per node.
- Property Inclusion List: If you would like auto-expansion to apply only to particular properties, you can select the Use Inclusion List checkbox. When Use Inclusion List is enabled, the dashboard's properties are listed at the bottom of the screen. Select each of the properties that you want to include.
- When you have finished configuring the expansion options, click Save to apply the changes and close the Designer.
Once Auto-Expand is enabled, adding a node or path to a Network View in this dashboard will also automatically add to the View the related nodes and paths that meet the specified criteria.