Configuring Mappings to Ingest a Subset of the Source Data
Anzo mappings include an option to set up parameters or criteria for ingesting source data so that you can target a subset of the data rather than consuming all values. For example, if you want to add to the data lake data that has decades worth of historical information but you are only interested in ingesting data from certain years, you can set criteria to filter out data that does not fall between those years.
Follow the instructions below to set up the parameters to use as criteria and add the criteria to filters:
- Open the Mapping
- Create Parameters to Use as Filter Criteria
- Add Filters to the Mapping to Apply the Criteria
Open the Mapping
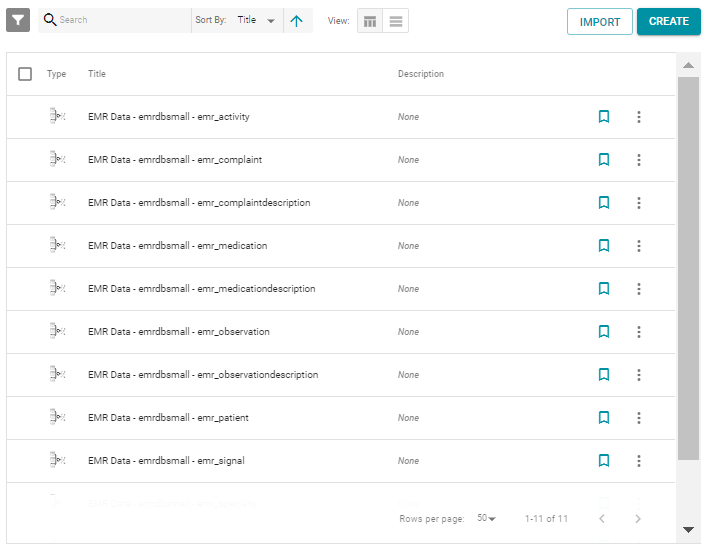
- In the Anzo console, expand the Onboard menu item and click Structured Data. Then click the Mappings tab. Anzo displays the Mappings screen, which lists any existing mappings. For example:
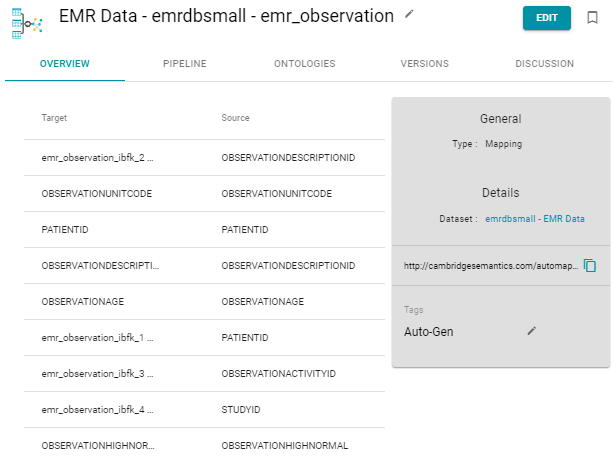
- Click the name of the mapping that you want to edit. Anzo displays the mapping details. For example:
- Click Edit at the top of the screen. Provide your server connection and login information and then click the arrow icon (
 ) to connect to the server and open the mapping.
Create Parameters to Use as Filter Criteria
- In the mapping configuration pane, click the plus icon (
 ) next to Parameters. Anzo opens the New Parameter dialog box.
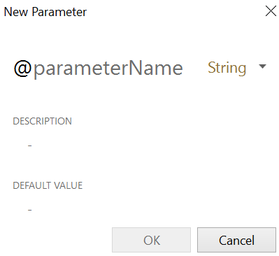
- Type a name for the new parameter in the parameterName field.
- Next to the parameter name, click the data type drop-down list and select the data type of the source field whose value you want to use as filter criteria.
- Type an optional description for the parameter in the Description field.
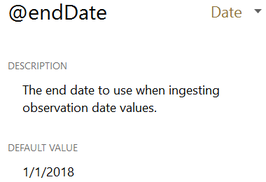
- In the Default Value field, type the literal value to use as criteria for the source data. The value that you type must match the format for the data type that you chose. Do not include functions or formulas that transform the value in the Default Value field. You can transform the values when you create the filter that applies this parameter. For example:
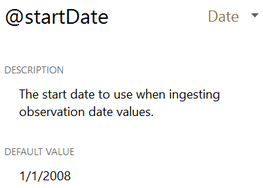
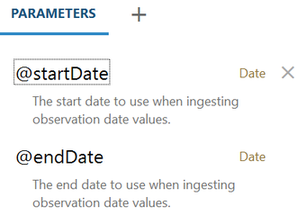
- Click OK to save the new parameter and add it to the Parameters list. Repeat the steps in this section to create any additional parameters, for example, if you are filtering on dates and need to set the beginning and end dates to filter on. For example:
- Click the save icon (
 ) at the top of the mapping configuration pane to save the mapping changes.
To edit parameters in the Parameters list in the mapping configuration pane, click a parameter name to open the Edit Parameter dialog box. To delete parameters, hover the pointer over the parameter name and click the X that appears to the right of the parameter. For example:
Add Filters to the Mapping to Apply the Criteria
- Click the cell to the left of the target table name to open the menu. For example:

- Click the Cog icon (
 ) in the menu to open the configuration section of the mapping.
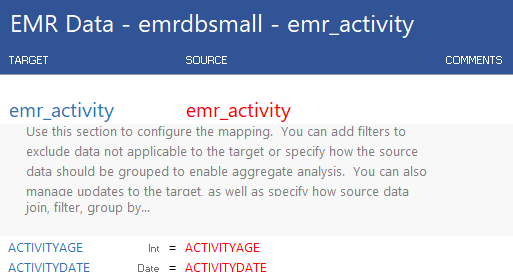
- In the configuration section, click the cell that contains the join, filter, group by... text in the Target column. If necessary, click the drop-down arrow next to the cell to open the Configure text box.
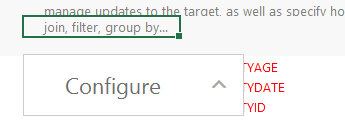
- In the Configure text box, start typing filter. When "filter" appears below the text box, click it to add the filter keyword to the cell.
- Click the cell in the Source column that corresponds to the filter you entered in the Target column. Anzo displays the Source Mapping text box below the cell. If necessary, click the drop-down arrow (
 ) next to the cell to open the Source Mapping text box.
 - In the Source Mapping text box enter the expression to use for the filter. Type @ to display the list of parameters to select from. For instructions on using functions in the filter, see Transforming Data in Mappings.
For example, the following expression filters on values whose OBSERVATIONDATE is greater than the date in the @startDate parameter:
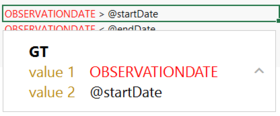
- Create any additional filters by repeating steps 2 – 5.
For example, the following expression filters on values whose OBSERVATIONDATE is less than the date in the @endDate parameter:
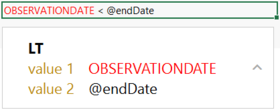
By adding filters for the @startDate and @endDate parameters, the example mapping is configured to ingest only the source records with observation dates that fall between the start and end dates.
- Click the save icon (
 ) at the top of the mapping configuration pane to save the mapping changes.