Creating a New Model
This topic provides instructions for creating a new data model in the Anzo console.
Important: When creating a new data model, follow the requirements and guidelines defined in Model Requirements and Recommendations.
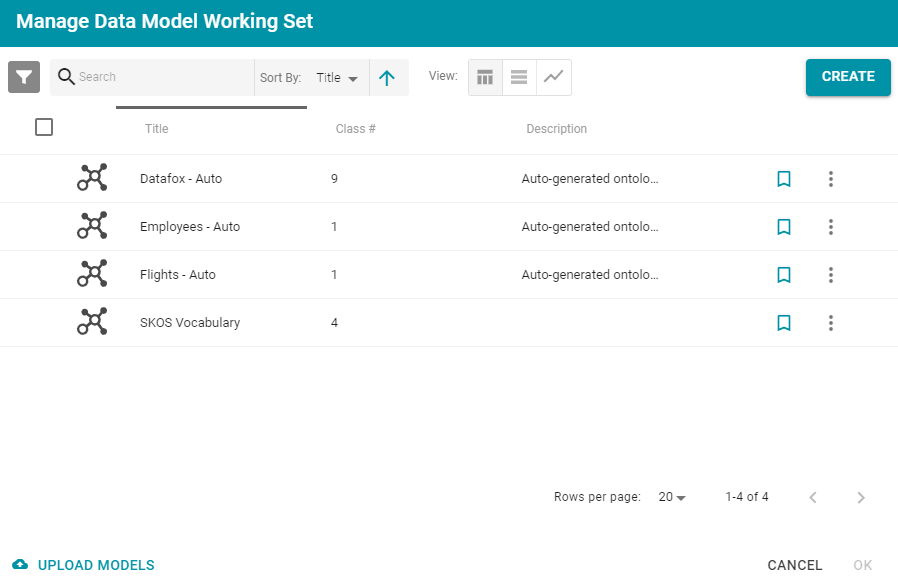
- In the Anzo console, click Model. Anzo displays the Manage Data Model Working Set screen. For example:

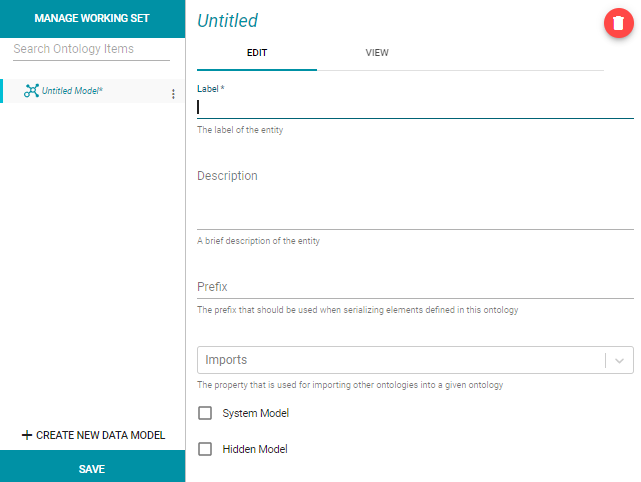
- Click the Create button on the top right of the screen. Anzo displays the Model editor.

- In the Label field, type a unique name for the model.
- Provide the following optional information as needed:
- Description: A brief description of the model.
- Prefix: Enables you to include an prefix as a hint for TriG serialization. For example, the prefix for the Friend of a Friend (FOAF) model is "foaf," and the prefix for Dublin Core is "dc." Enter a prefix if you want customize the way the data looks when Anzo serializes it.
- Imports: Enables you to import the definitions from another model into this model. To select models to import, click in the Imports field and select a model from the drop-down list. You can press Ctrl and select multiple models.
- System Model: Indicates that the data model is a system model only and not related to business data.
- Hidden Model: Hides the data model so that it is not associated with business data.
- Click Save to save the model.
For information about adding classes and properties to the new model, see Editing a Model. You can change or create a mapping to associate the new model with a data set. For information, see Working with Mappings.