Importing Data from JSON Files
This topic provides instructions for creating a JSON data source, scanning a file, and generating the schema.
| Note | When a large amount of data is ingested from a single JSON file, the resulting ETL pipeline can take an extremely long time to complete because a single job is created. Since it is a single job, a single ETL engine node processes the data while other resources remain idle. The best approach to loading a large data set in JSON format is to divide the data into several smaller files and then import the batch of files. The resulting pipeline has several smaller jobs that can be processed in parallel. |
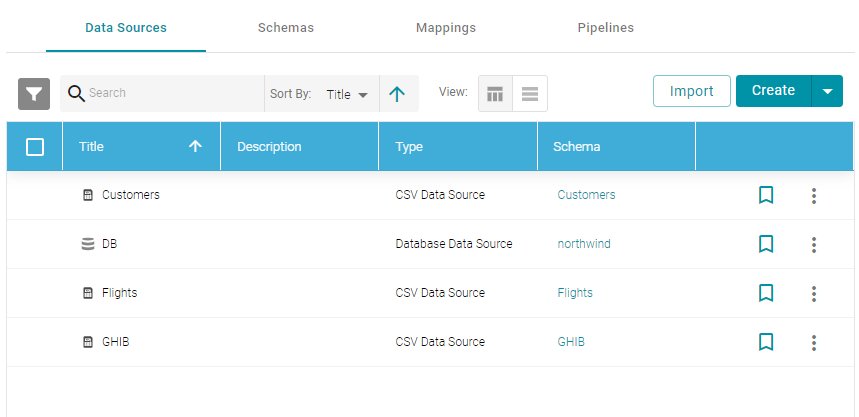
- In the Anzo console, expand the Onboard menu and click Structured Data. Anzo displays the Data Sources screen, which lists any existing data sources. For example:
- Click the Create button and select JSON Data Source. Anzo opens the Create JSON Data Source screen.

- Type a name for the data source in the Title field, and type an optional description in the Description field.
- Click the JSON File Location field to open the File Location dialog box.
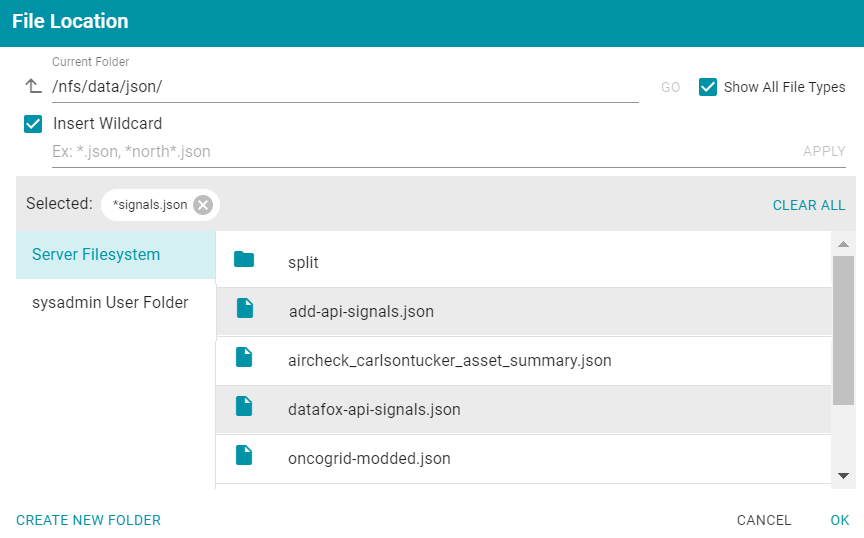
- In the File Location dialog box, on the left side of the screen, select the file connection for the JSON files. On the right side of the screen, navigate to the directory that contains the file to import. The screen displays the list of files in the directory. For example:

- Select the file that you want to import and then click OK to close the dialog box. If you have multiple files with the same schema— the files contain the same arrays in the same order—you can select the Insert Wildcard option. Then type a string using asterisks as wildcard characters to find the files with similar names. Files that match the specified string will be imported as one file and will result in one job being created in the pipeline to ingest all of the files that are selected by the specified string. You can specify up to 16,000 files using a wildcard. After typing a string, click Apply to include that string in the Selected list.
Important If you have a batch of files that were generated to split a large data set, do NOT specify the batch of files using the wildcard syntax. Select one file from the batch. You will select the rest of the files in a later step. Selecting all files with a wildcard essentially merges the data into one large file, resulting in one ETL job that would be processed by limited ETL engine resources rather than multiple jobs that could be processed in parallel. Example: The image below shows a directory with multiple JSON files. For this example, add-api-signals.json and datafox-api-signals.json have the same schema and can be imported as one file. The Insert Wildcard option is selected, and *signals.json is specified to identify the two files.
- Specify the type of schema that Anzo should create. Click the Schema Type field and select one of the following types from the drop-down list:
- Flat: By default, the Schema Type is set to Flat. A flat schema type results in a single schema table with a single mapping file and ETL job. Generating a flat schema is ideal for files with many different objects with nested relationships where there are many one-to-one relationships. If the file contains a large number of arrays or a number of arrays that are large in size, however, generating a flat schema is not recommended. The import can require extensive server resources and take a long time to process.
Note In Flat mode, Anzo creates relationships that go from the parent node to the child node. For example: Person → Address. - Relational: A relational schema type results in multiple schema tables, mappings, and jobs. Generating a relational schema is ideal for files that include many arrays or a number of very large arrays. Creating a relational schema from a file that contains many different objects with one-to-one relationships can result in poor import performance and a very large number of small tables, mappings, and ETL jobs.
Note In Relational mode, Anzo creates relationships that go from the child node to the parent node. For example: Address → Person.
Anzo performs pre-processing before creating the schema. If the specified Schema Type would result in poor performance or require extensive resources, Anzo displays a warning and prompts you to change the schema type before proceeding with the schema creation.
- Flat: By default, the Schema Type is set to Flat. A flat schema type results in a single schema table with a single mapping file and ETL job. Generating a flat schema is ideal for files with many different objects with nested relationships where there are many one-to-one relationships. If the file contains a large number of arrays or a number of arrays that are large in size, however, generating a flat schema is not recommended. The import can require extensive server resources and take a long time to process.
- If you are importing a batch of files or want to configure other advanced options, expand the Advanced section of the screen and proceed to the next steps.
- When data is onboarded, Anzo sets the root object name to "json." If you want to specify an alternate name for this source, type the new name in the Root Element Name field.
- The Schema File Location field defines where Anzo saves the generated schema. Cambridge Semantics recommends that you leave the field blank. If you want to designate a custom location, click Browse and choose a file location.
- The value in the Scan Depth field indicates the number of entities in the file that Anzo should scan to find all of the unique objects to include as classes and properties in the generated model. The scan process follows nested objects, counting one object array as one row. Edit the value as needed. A value of -1 instructs Anzo to scan the entire file.
-
If the JSON file contains lists of objects that are not defined in arrays, the file scan cannot determine if any of the objects are the same type, and Anzo treats each object as a new type. To ensure that repeating object paths are treated as the same type if the file does not include arrays, use standard JSON path syntax to define repeating element types in the Repeating Element Paths field. Separate paths with semicolons (;). If the file includes arrays, leave this field blank.
For example, when Anzo scans the following sample JSON markup, people, vehicles, and maintenance would become object types without a defined relationship:
{
  "people":
    {
	"personal": {
	  "age": 20,
	  "gender": "M",
         "name": {
           "first": "John",
	    "last": "Doe"
         }
       },
       "vehicles": {
         "type": "car",
	  "model": "Honda Civic",
	  "insurance": {
	    "company": "ABC Insurance",
	    "policy_num": 12345
	},
	"maintenance":
	   {
	     "date": "07-17-2017",
	     "desc": "oil change"
	   },
          {
	     "date": "01-03-2018",
	     "desc": "new tires"
          }
      }
   }
}
By defining the following paths in the Repeating Element Paths field, the scan knows that "people" is an object type, "vehicles" map to people, and "maintenance" is related to vehicles, which map to people.
$.people;$.people.vehicles;$.people.vehicles.maintenance
- If you are importing a batch of files, click the Add Part JSON File Locations field to open the File Location dialog box. Select each of the files included in the batch and then click OK to close the dialog box.
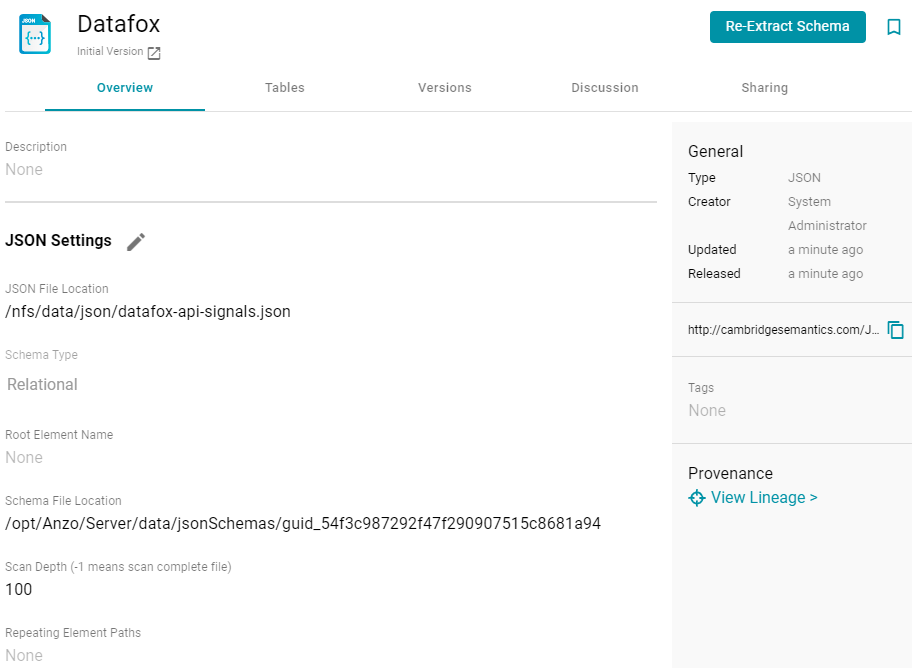
- Click Save & Extract Schema to scan the file and generate the schema. Anzo saves the data source, creates the schema, and displays the data source overview. For example:
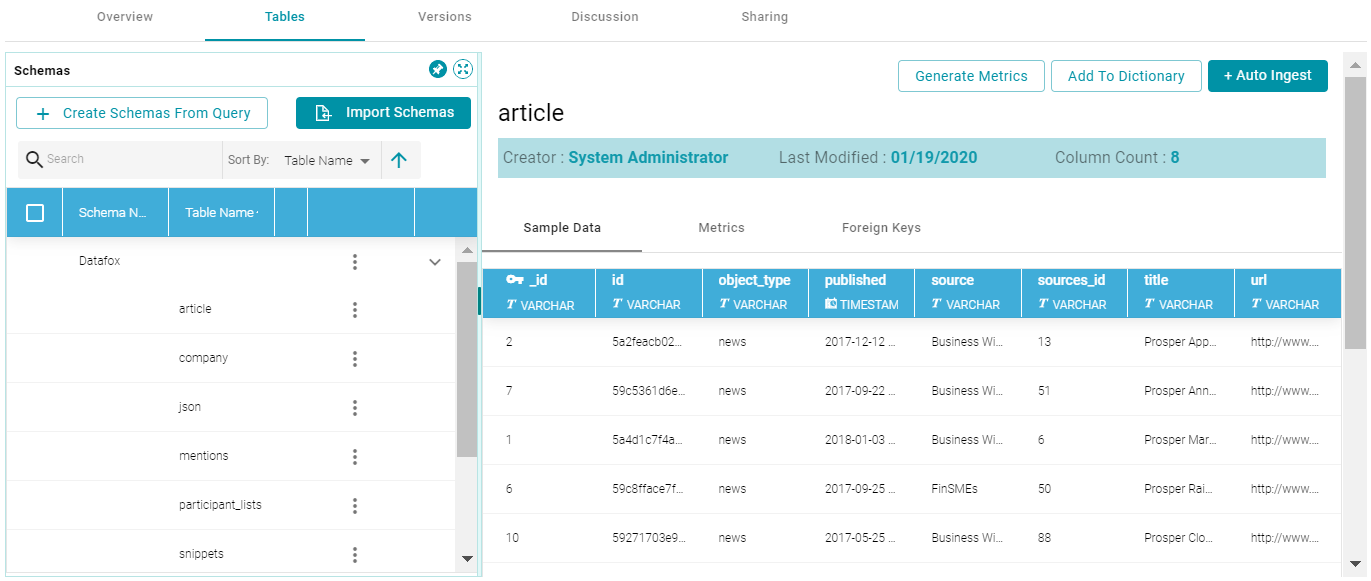
To view the schema that Anzo created, you can click the Schema Name link at the bottom of the screen under Schema Details. Anzo opens the Tables screen for the schema, where you can access schema details. For example:
The source data can now be onboarded to Anzo. For instructions on onboarding the data by letting Anzo automatically generate the mapping, model, and ETL pipeline, see Ingesting Data into Anzo. For information about adding a schema to a metadata dictionary, see Using Data Dictionaries. If you imported data from a batch of JSON files, you must create a data dictionary to onboard the source.