Importing Data from SAS Files
This topic provides instructions for creating a SAS data source and importing data from SAS7BDAT files.
| Note | When importing data from SAS files, Anzo imports any metadata that is defined in the files. The metadata only becomes visible, however, when a metadata dictionary is created for the source. For more information, see Using Data Dictionaries. |
- In the Anzo console, expand the Onboard menu and click Structured Data. Anzo displays the Data Sources screen, which lists any existing data sources. For example:
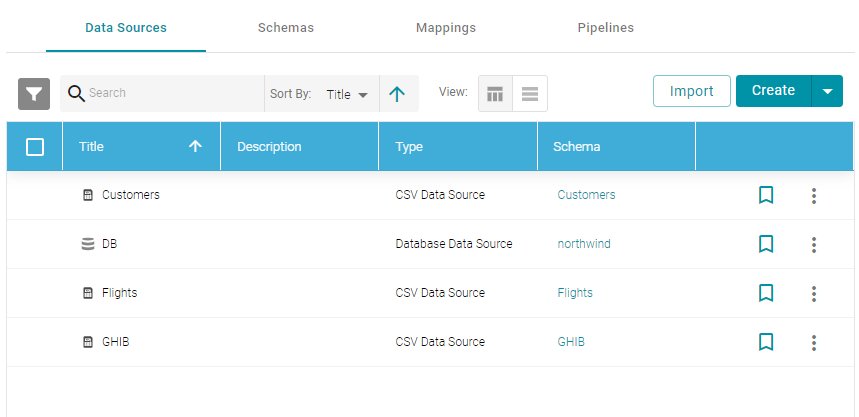
- Click the Create button and select SAS Data Source. Anzo opens the Create Sas Datasource screen.

- Type a name for the data source in the Datasource name field, and type an optional description in the Description field. Then click Save. Anzo saves the source and displays the Tables tab.
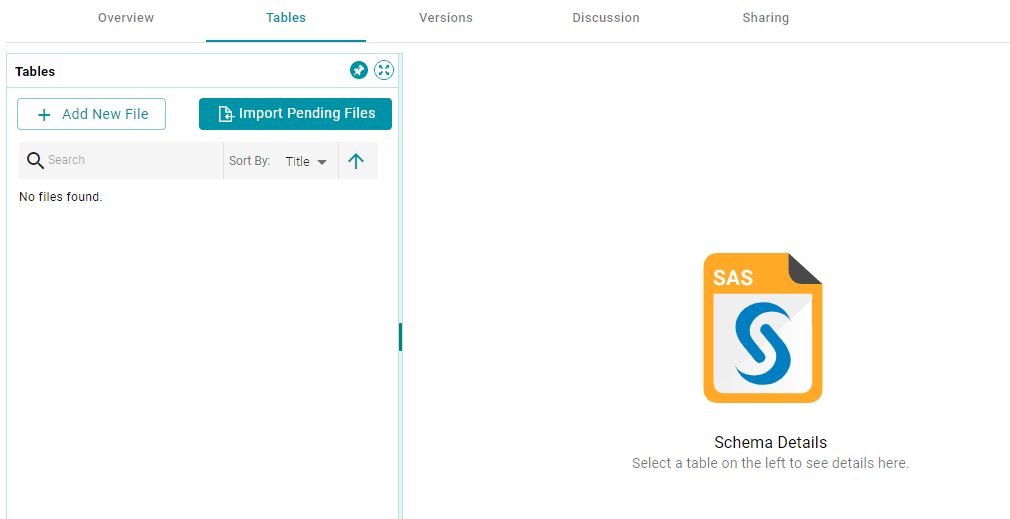
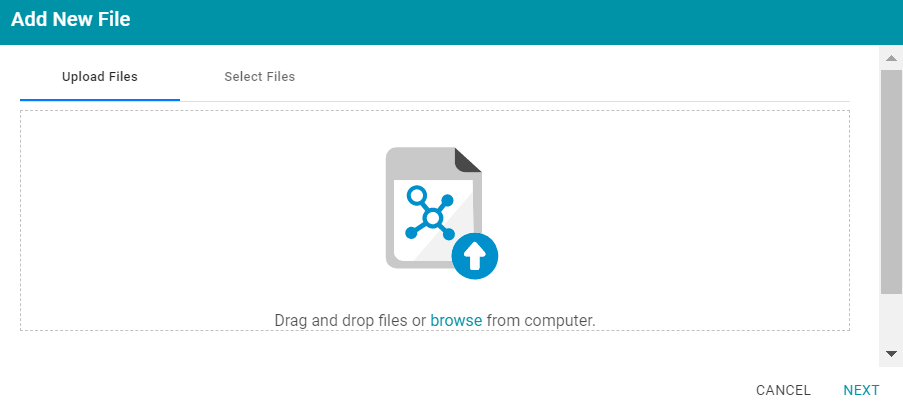
- On the left side of the screen, click the Add New File button. Anzo displays the Add New File dialog box, and the Upload Files tab is selected.
- Follow the appropriate steps below depending on whether the SAS files are on your computer or a file connection:
- If the files are on your computer:
- Drag and drop the files onto the Upload Files tab or click browse to navigate to the files and select them. Anzo attaches the files and the Next button becomes active.
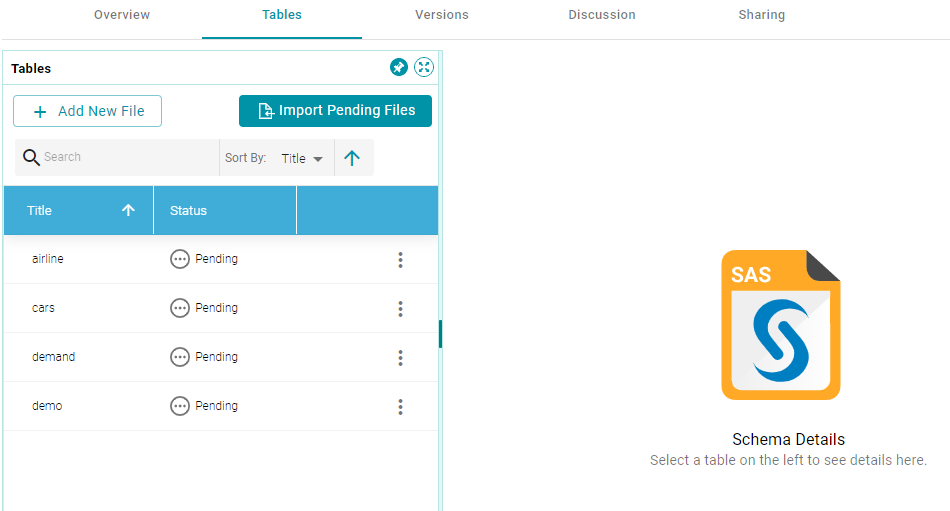
- Click Next. Anzo lists the uploaded files on the left side of the screen with a status of Pending. For example:
- If the files are on a file connection:
- Click the Select Files tab. Anzo displays the file selection dialog box.

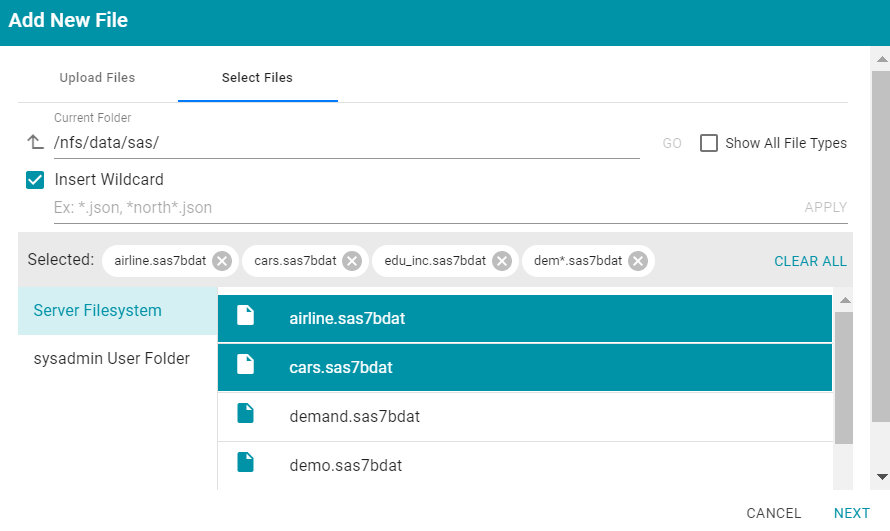
- On the left side of the screen, select the file connection for the SAS files. On the right side of the screen, navigate to the directory that contains the files to import. The screen displays the list of files in the directory. For example:

- Select each file that you want to import. If you have multiple files with the same schema— the files contain the same columns listed in the same order—you can select the Insert Wildcard option. Then type a string using asterisks as wildcard characters to indicate find the files with similar names. Files that match the specified string will be imported as one file. After typing a string, click Apply to include that string in the Selected list.
Example: The image below shows a directory with several SAS files. For this example, demand.sas7bat and demo.sas7bat have the same schema and can be imported as one file. The Insert Wildcard option is selected, and dem*.sas7bat is specified to identify the two files.
- When you finish selecting files, click Next to close the dialog box. Anzo lists the uploaded files on the left side of the screen with a status of Pending. For example:
- Click the Select Files tab. Anzo displays the file selection dialog box.
- If the files are on your computer:
- If you do not need to change SAS file options, click the Import Pending Files button to import all of the pending files. Anzo imports the data and updates the status to Imported.
If you do need to change SAS file options, click the menu icon (
 ) for that file and select Edit. To change the options for multiple files, select the checkbox next to each of the files, and then click the Edit button at the top of the table. Anzo displays the Edit SAS File screen. For example, the image below shows the Edit screen for a single file:
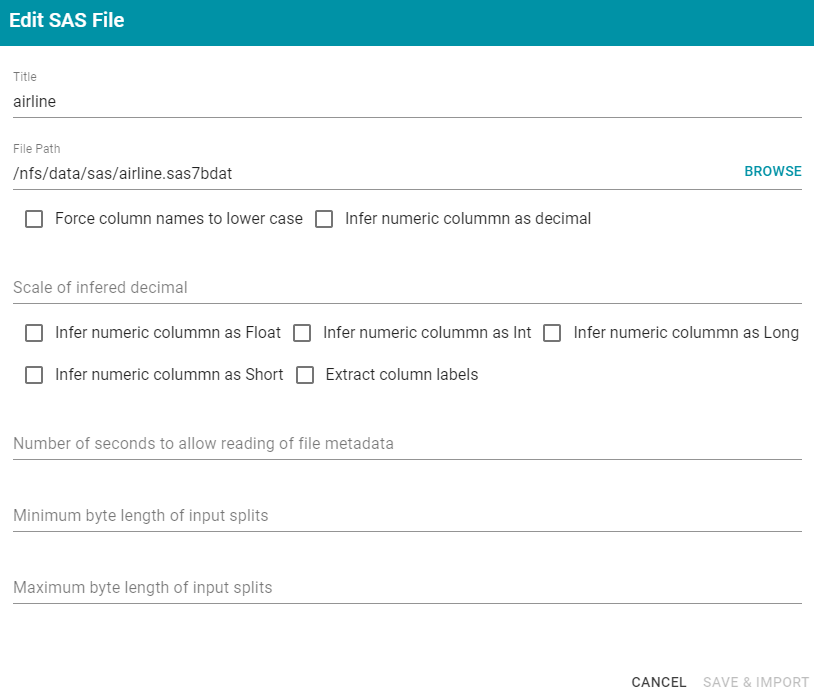
Change the options as needed and then click Save & Import to import the SAS file or files. Anzo imports the data and updates the status to Imported.
- Once the files are imported, click a table row on the left side of the screen to display the schema on the right side of the screen as well as to enable the Generate Metrics, Add To Dictionary, and Auto Ingest options. For example:
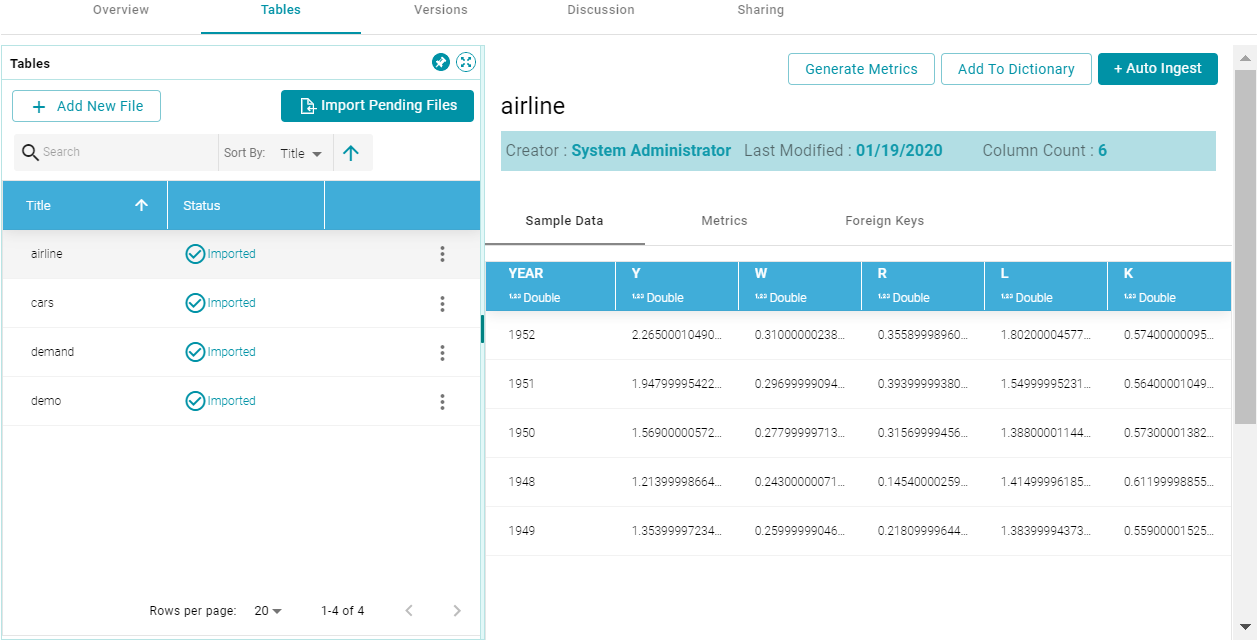
The source data can now be onboarded to Anzo. For instructions on onboarding the data by letting Anzo automatically generate the mapping, model, and ETL pipeline, see Ingesting Data into Anzo. For information about generating metrics, see Generating Source Data Metrics. For information about adding a schema to a metadata dictionary, see Using Data Dictionaries.