Creating a New Volume
This topic provides instructions for creating new volumes or journals.
The number of volumes that you can create depends on your software license. For more information, contact Cambridge Semantics Support.
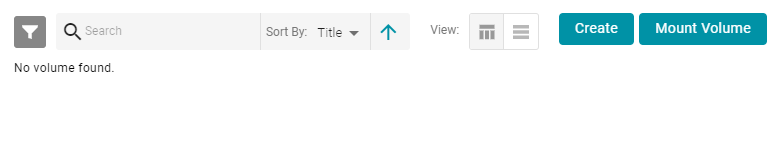
- In the Administration application, expand the Servers menu and click Volume Manager. Anzo displays the Volume Manager screen, which lists any existing user-defined volumes (system volumes can be displayed by selecting the system data filter). For example:
- Click the Create button. Anzo displays the Create New Volume dialog box.
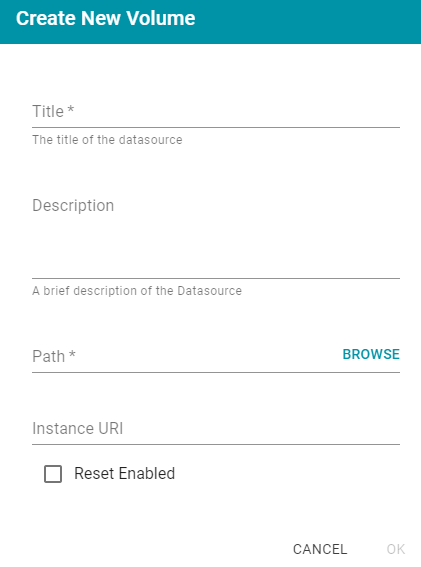
- In the Title field, type a name for the new volume, and type an optional description in the Description field.
- Click the Path field to open the File Location dialog box. For example:
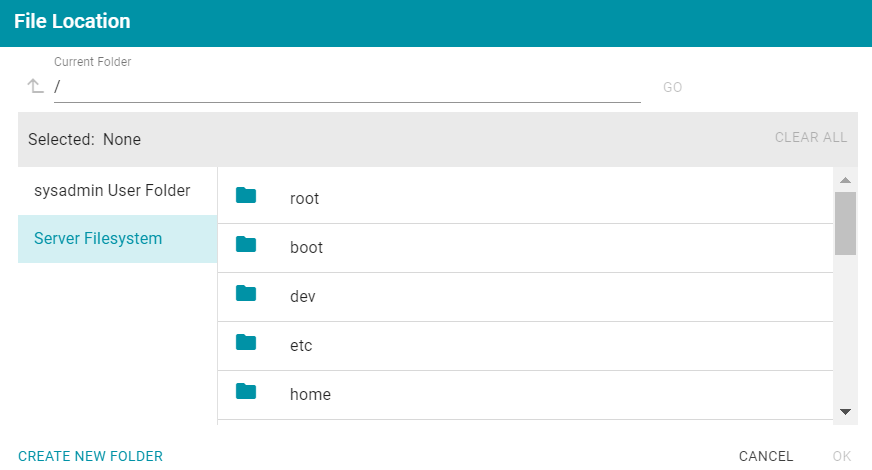
- On the left side of the screen, select the file store where you want to create this volume. On the right side of the screen, select the directory where you want Anzo to save the volume. Then click OK to close the File Location dialog box. For instructions on creating a new file store, see Connecting to a File Store.
- On the Create New Volume screen, complete the remaining fields:
- Instance URI: Anzo automatically assigns an instance URI to this volume. If you want to specify a custom URI, type the URI in this field.
- Reset Enabled: Specifies whether to enable resets. When reset is enabled, the option to reset the entire contents of the volume becomes available. To enable resets for this volume, select the Reset Enabled checkbox. To disable the reset option, leave the checkbox clear.
- Click Save to create the new volume in the location that you specified.