Connecting to a Database
This topic provides instructions for connecting to a structured data source, such as a Microsoft, Oracle, Hadoop, Teradata, PostgreSQL, or Google database.
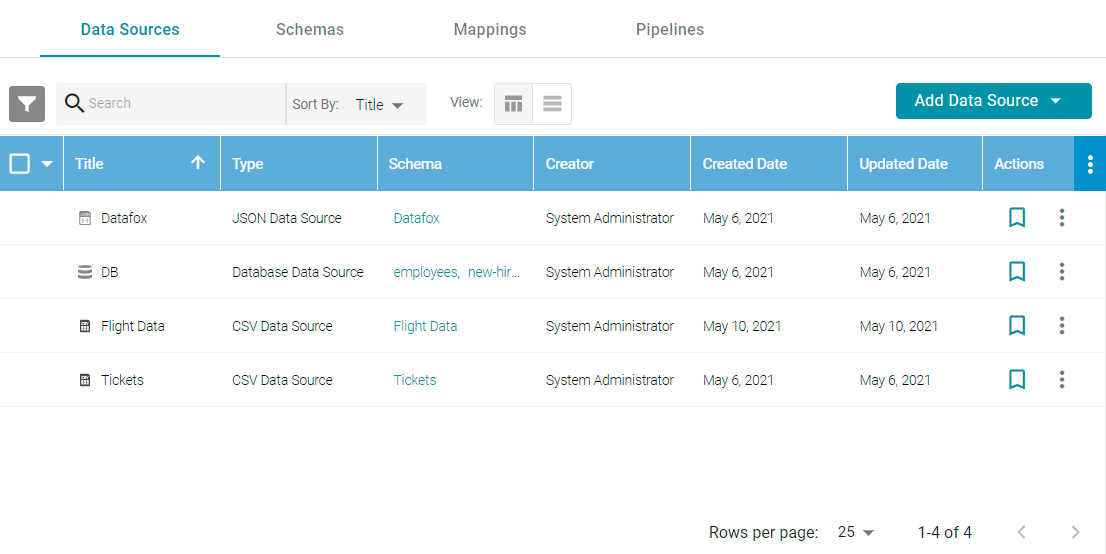
- In the Anzo application, expand the Onboard menu and click Structured Data. Anzo displays the Data Sources screen, which lists any existing Data Sources. For example:
- Click the Add Data Source button, select Database Data Source, and then choose the type of database to connect to. Anzo opens the Create Database Data Source screen for the type of database that you chose. For example:

- At the top of the screen, specify a Title for the source, and enter an optional Description.
- Enter any additional details and the credentials that are required for making the source connection. The options that appear depend on the type of database connection:
- User: Type the user name used to log in to the database.
- Password: Type the password for the user.
- Server: Type the server name or IP address for the source. Include the port if necessary.
- Database: If necessary, type the partition that contains the data.
- Extended Properties: For Hadoop Hive or Impala databases, enter the extended attributes that you use.
- Click Save to save the data source connection. Anzo displays the Tables tab. Before proceeding to select or create a Schema, you may want to test connectivity to the database. To do so, click the Overview tab and then click the Test Connectivity button. If the connection fails, adjust the data source details until the connection is successful.
After connecting to the data source, the next step is to define the Schema that Anzo will use to determine the data's structure and import the data. See Defining a Database Schema for instructions.