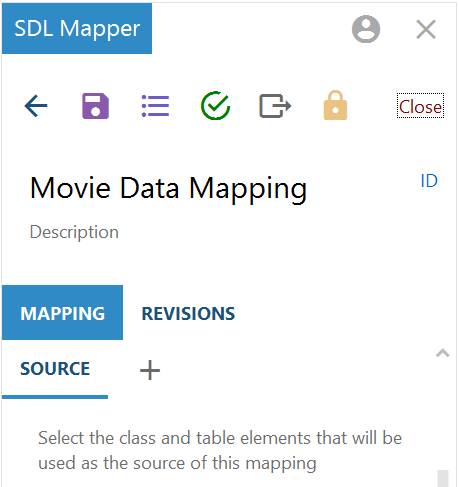
Creating a New Mapping
This topic provides instructions for using the Anzo for Office Excel plugin to create a new basic mapping. Typically users create one mapping for each target and source pair. For example, if you have a project that ingests data from 10 tables in a source or 10 CSV files, the project will likely include 10 mappings. You can create mappings where multiple sources map to one target, but one mapping cannot include multiple targets.
Follow these steps to create a new mapping:
- Create a Mapping and Select References
- Define the Source for the Mapping
- Define the Target for the Mapping
- Map the Source Elements to Target Elements
Create a Mapping and Select References
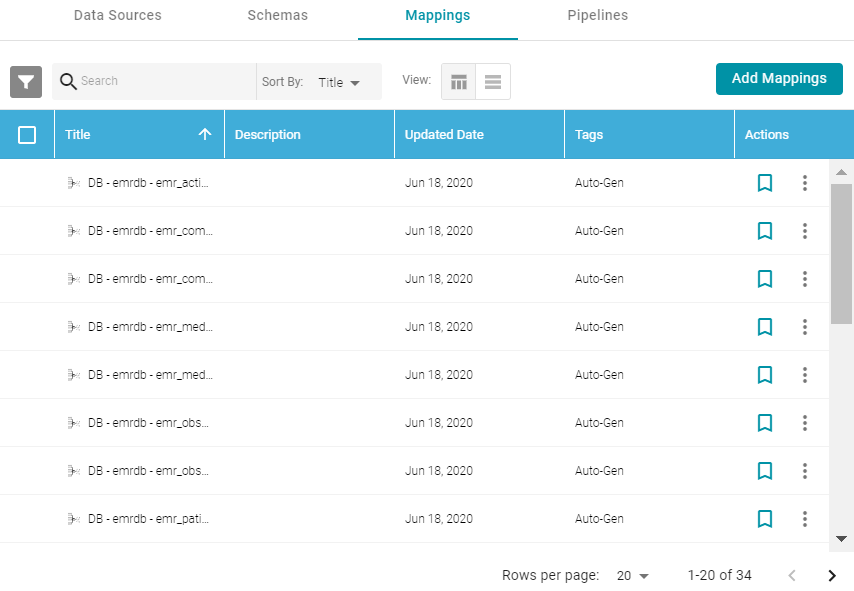
- In the Anzo application, expand the Onboard menu and click Structured Data. Then click the Mappings tab. Anzo displays the Mappings screen, which lists any existing mappings. For example:
- Click the Add Mappings button at the top of the screen and select Add Mappings. Anzo opens the Anzo for Office plugin in Microsoft Excel and prompts you to enter the Anzo server connection information.
- Provide your server connection and login information and then click the arrow icon (
 ) to connect to the server and open the mapping tool. Anzo displays the New Mapping dialog box.
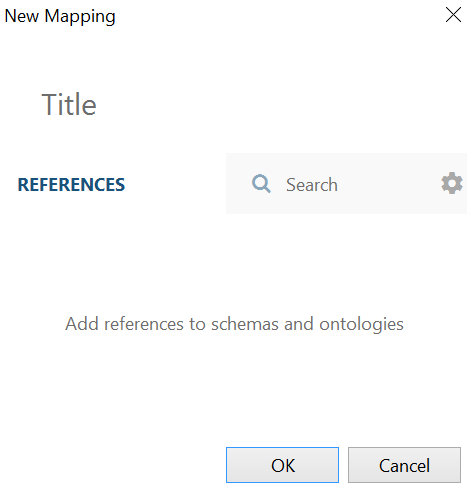
- In the Title field, type a name for the mapping.
- In the References field, select the schemas and models that the new mapping should have access to. Type a value to search for available sources. If you want to include system items in the search, you can click the cog icon (
 ) to select it. Anzo lists the sources that match the search text.
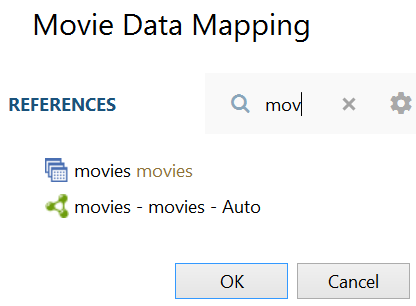
- Hover over a source in the list of references to display the plus icon (
 ). Click the icon for each source that you want to add as a reference, and then click OK. The new mapping opens. The mapping workbook is in the center pane and the mapping menu and configuration details are displayed in the right pane. For example:
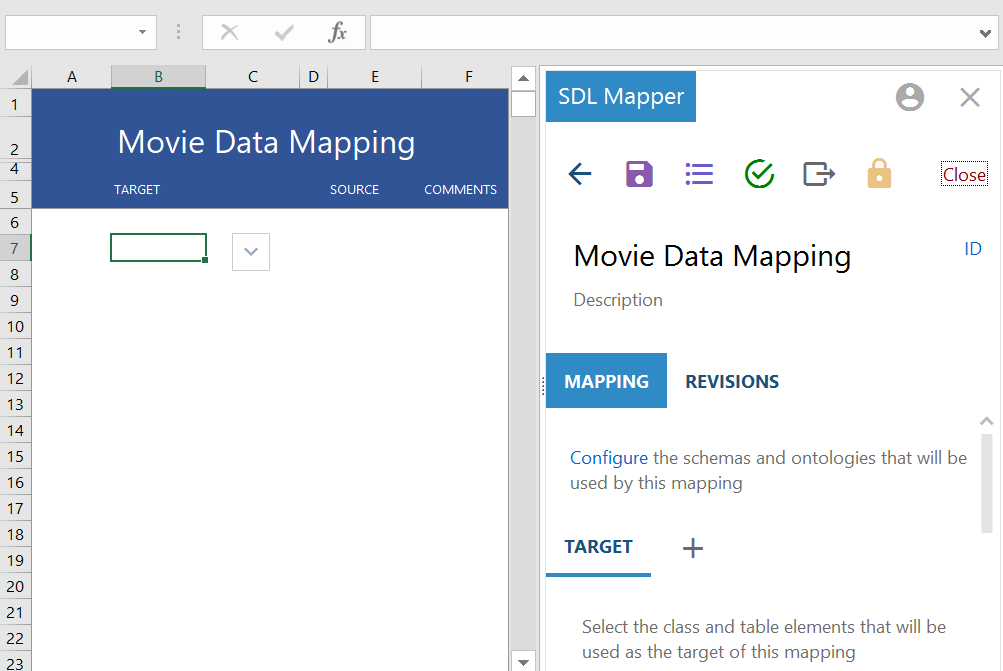
Define the Source for the Mapping
Complete these steps to define the source to use for the mapping:
- In the right pane, scroll to the Source section in the Mapping tab.
- Click the plus icon () next to Source. Anzo opens the Add Source Elements dialog box.

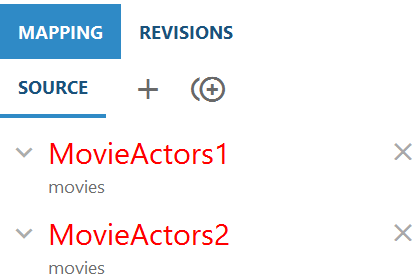
- Select a source to add to the mapping and click Add. If you want to add additional sources, select another source and click Add again. Anzo adds the source to the list under Source. You can click the X icon to the right of a source name to delete that source from the list.
- When you are finished adding sources, close the Add Source dialog box.
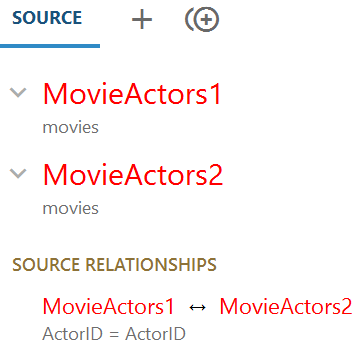
- If you added one source, proceed to the next step. If you added multiple sources, Anzo displays an Add Relationship icon (
 ) next to the plus icon so that you can create a relationship between the sources by specifying the join criteria.
Follow these steps to specify relationships:
- Click the Add Relationship icon (). Anzo displays the Edit Relationship dialog box.
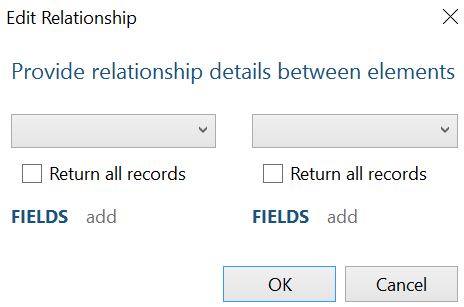
- In the drop-down lists at the top of the dialog box, select one source on the left and the other source on the right. Anzo displays the fields under each source.
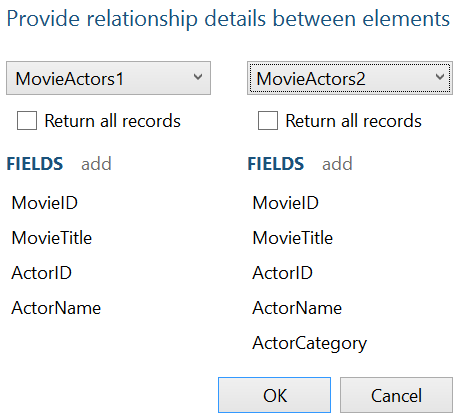
- Determine which field to join on from each source, and then select those fields. Double-click a field on the left to select it, then double-click the join field on the right. You can use the Return all records check boxes above the field lists to specify whether to return all records from either the right or the left side if no matching field is found.
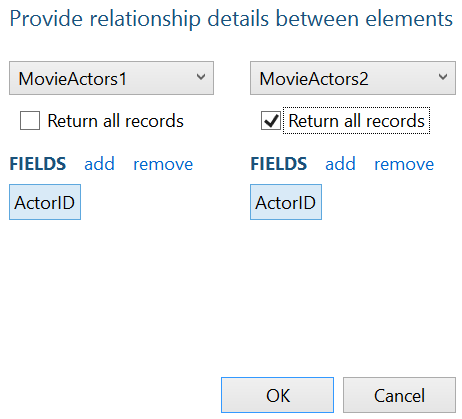
- Click OK to create the relationship and close the Edit Relationship dialog box. Anzo lists the relationship definition at the bottom of the right pane.
If you have additional sources to join, click the Add Relationship icon again and repeat these steps to relate each source.
- Click the Add Relationship icon (
- Click the save icon (
 ) at the top of the mapping configuration pane to save the mapping changes.
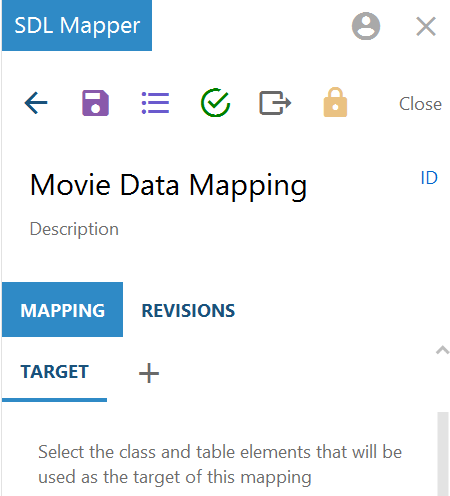
Define the Target for the Mapping
Complete the steps below to define the class and table elements that the mapping should target.
For information about setting up parameters to ingest a subset of the source data, see Configuring Mappings to Ingest a Subset of the Source Data.
- In the right pane, scroll to the Target section in the Mapping tab.
- Click the plus icon () next to Target. Anzo opens the Add Target Elements dialog box.
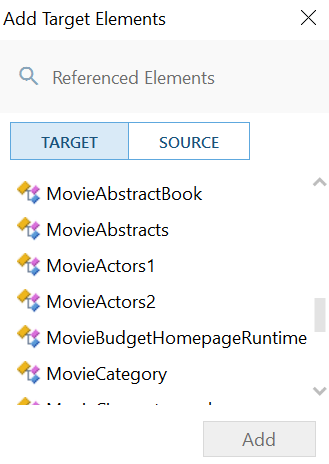
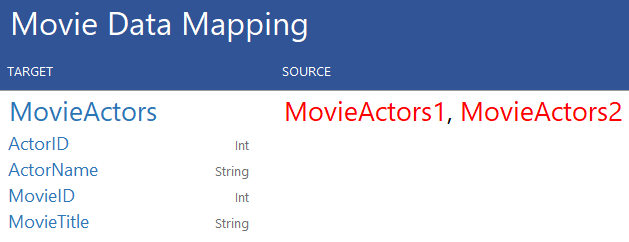
- Select the model or table that you want to map to and click Add. Anzo adds the target to the Target list in the right pane and populates the workbook with the target elements. For example:
- Close the Add Target dialog box and click the save icon () at the top of the mapping configuration pane to save the mapping changes.
Map the Source Elements to Target Elements
In the workbook, follow these steps to complete the mapping by specifying which source element maps to each target element:
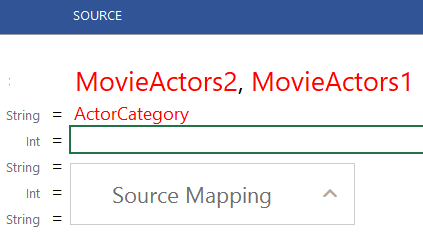
- Click in a source cell next to a target field. Anzo displays the Source Mapping text box below the cell.

- In the Source Mapping text box, start typing the source field name. Anzo displays a list of fields that match the text.
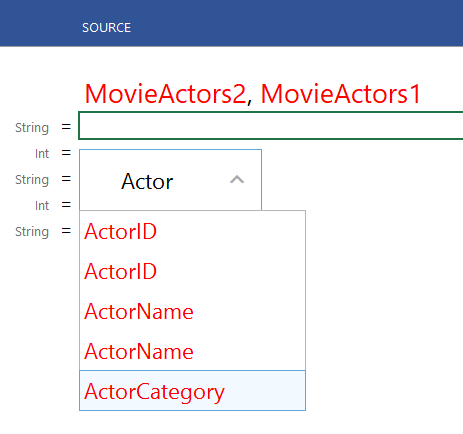
Type all values in the Source Mapping text box. Do not type in any cells. Any text typed in a cell directly is invalid and can cause issues with the mapping.
- In the list of results, click the source field that maps to the target. Anzo adds the field name to the cell and opens the Source Mapping text box for the next source.
- If you chose a model or ontology as the target, some of the classes in the target likely include additional properties or related classes. In the workbook, the properties for related classes in are indented the target list. For example:
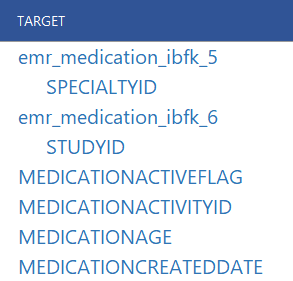
In the example, SPECIALTYID and STUDYID are object properties in the related emr_medication_ibfk_5 and emr_medication_ibfk_6 classes.
To map the source for these properties, first map the source for the class and then the source for the object properties becomes available in the mapping. For example:
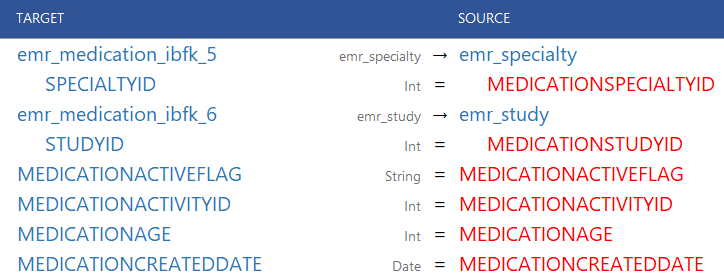
In the example, once emr_medication_ibfk_5 is mapped to the emr_specialty source class or table and emr_medication_ibfk_6 is mapped to emr_study, the source for the SPECIALTYID and STUDYID object properties are available to map.
- Complete the mapping by entering the appropriate source for each target that you want to map. You do not have to enter source for all targets. For information about using functions to transform the source data, see Transforming Data in Mappings.
To enter a literal value in the source mapping, type the value in the Source Mapping text box and then press Enter. The literal value is added to the cell with green text to distinguish it from fields.
- If you want to add a new target and source pair to the mapping, click the target field that is above the cell where you want to add the new target. Then click the lines icon (
 ) that appears to the left of the target name. Click the Add icon (
 ) that becomes available and choose the target and source elements by following the same process that you used when you mapped the source elements.
 - When you are finished mapping fields, click the save icon () at the top of the mapping configuration pane to save the mapping changes. For instructions on performing other common editing tasks, see Editing Mappings below.
Editing Mappings
The table below provides instructions for working with mapping components. When changing mappings, click Save (![]() ) periodically to save your changes.
) periodically to save your changes.
| What do you want to do? | Instructions |
|---|---|
| Add a target and source pair |
|
| Delete a target and source pair | Click the target element in the row that you want to delete. Then click the lines icon ( |
| Modify the mapping data references | To change selected data that the mapping can access, click the Configuration icon ( |
| Validate changes to a mapping | Click the Validate icon ( |
For more advanced information about working with mappings, see Transforming Data in Mappings.