Cloning a Layer
Follow the steps below to create a new data layer by copying an existing one from any graphmart. For instructions on creating a layer from scratch, see Creating a New Layer.
-
In the Graph Studio application, go to the Graphmarts screen.
Graph Studio displays a list of the existing graphmarts. For example:

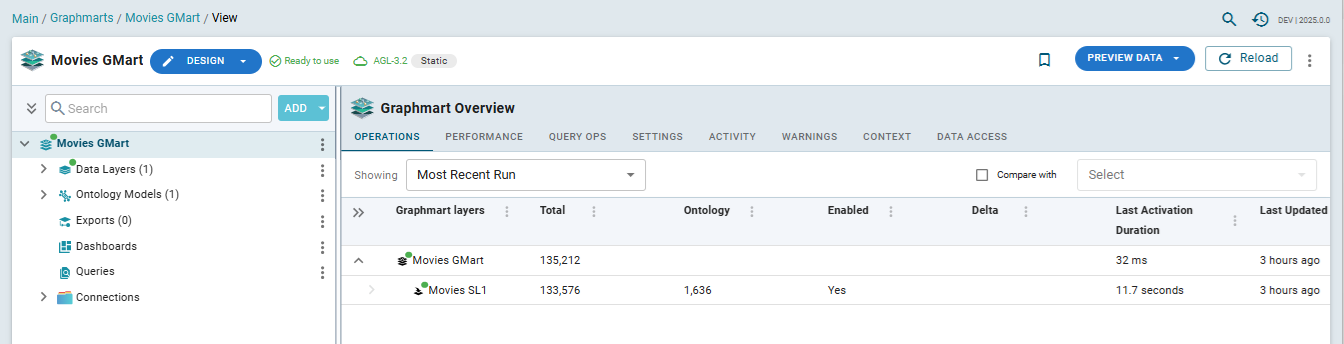
- Click the name of the graphmart that you want to add a layer to. The graphmart object tree and the Graphmart Overview frame are displayed. For example:
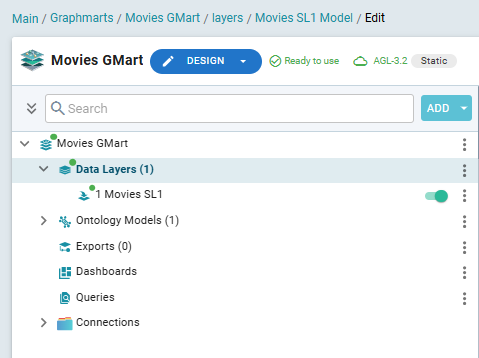
- Expand the Data Layers item under the graphmart name in the object tree. Graph Studio displays the existing data layers. For example:
-
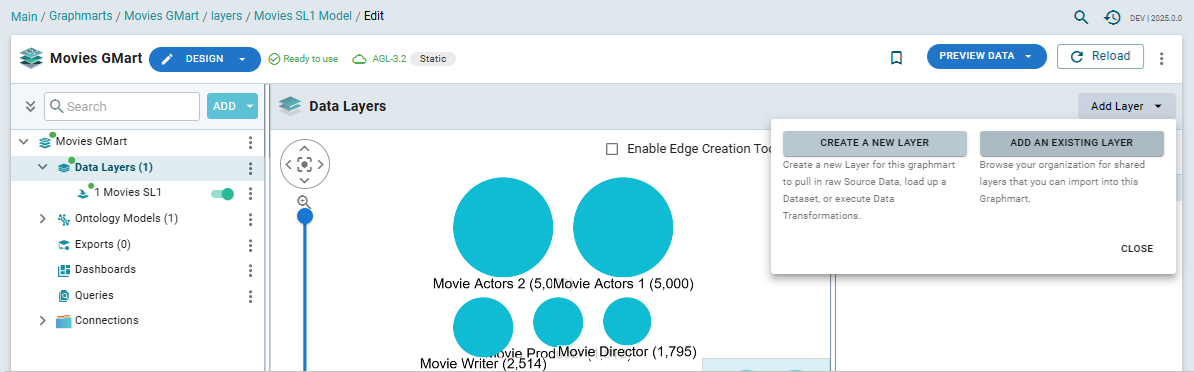
Click Add Layer at the top right and select Add an Existing Layer.
Graph Studio opens the Select a value to add dialog box, which lists the existing layers for all graphmarts. For example:
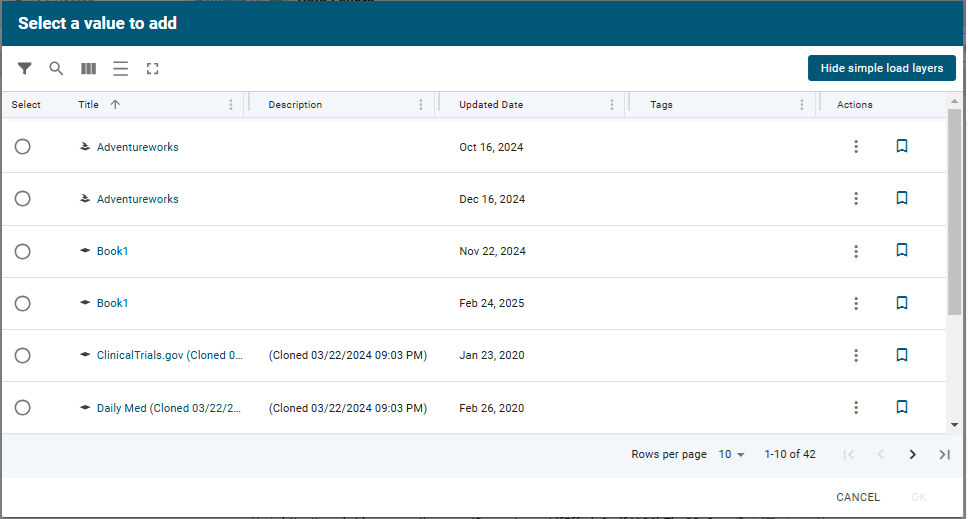
- Select the layer that you want to copy and click OK. The Clone dialog box is displayed. For example:
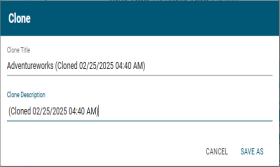
- In the Clone dialog box, you have the option to edit the Clone Title and/or Clone Description.
- Click Save As to add the cloned layer and any steps that the layer contains to the graphmart.
-
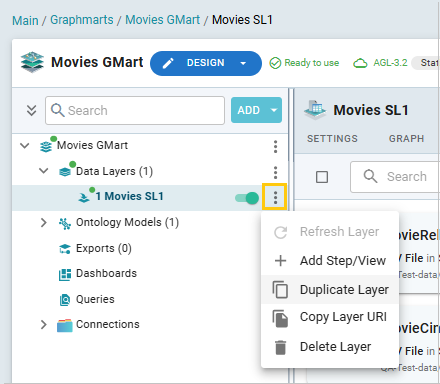
If you want to clone a layer from the current graphmart, click on the menu to the right of the layer and select Duplicate Layer.
The new layer becomes the last layer in the graphmart. If you want to change the order of the layers, you can click on the layer name or icon and drag the layer up or down. Data layers are processed from top to bottom.
The Refresh icon (![]() ) on the new layer indicates that the layer is out of sync with the data that is in Graph Lakehouse. Once you configure the new layer and add data processing steps, you can click the Reload button (
) on the new layer indicates that the layer is out of sync with the data that is in Graph Lakehouse. Once you configure the new layer and add data processing steps, you can click the Reload button ( ) at the top of the screen to reload the entire graphmart, or you can click the Refresh icon (
![]() ) on the layer to reload only that layer.
) on the layer to reload only that layer.
See Loading Data for instructions on loading data into layers.
See Adding Steps to Layers for instructions on creating steps.