Creating a New Layer
Follow the steps below to create a new data layer in a graphmart. For instructions on creating a new layer by copying an existing one, see Cloning a Layer.
-
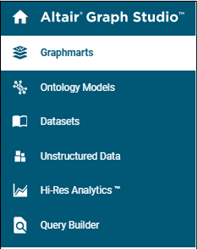
In the Graph Studio application, go to the Graphmarts screen.
Graph Studio displays a list of the existing graphmarts. For example:

- Click the name of the graphmart that you want to add a layer to. The graphmart object tree and the Graphmart Overview frame are displayed. For example:
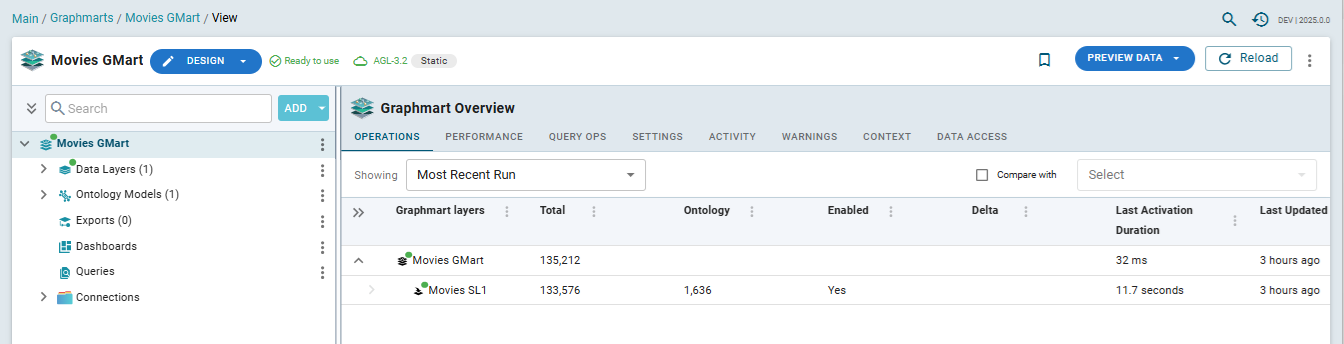
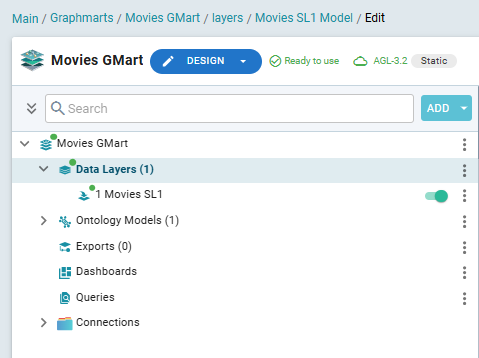
- Expand the Data Layers item under the graphmart name in the object tree. Graph Studio displays the existing data layers. For example:
-
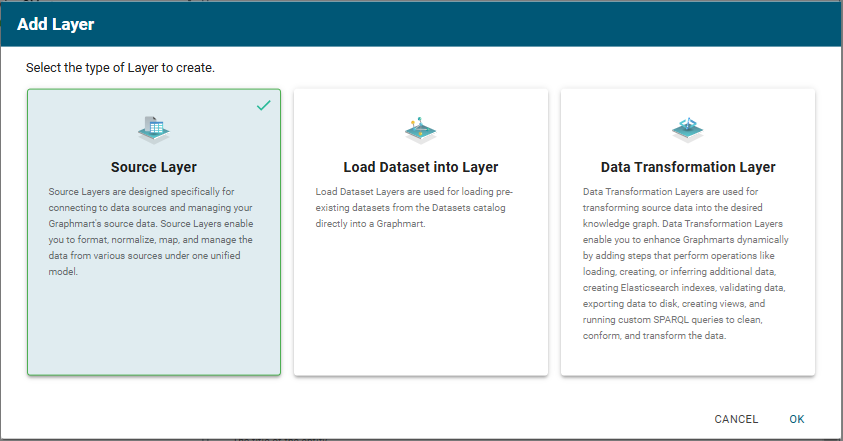
Click Add Layer and select Create a New Layer.

Graph Studio displays the Add Layer dialog box. You can choose from three options: add a new Source Layer, load a Dataset into Layer, or add a Data Transformation Layer.
-
Select the Source Layer option if you need to connect to data sources and manage your Graphmart source data. You will be able to format, normalize, map, and manage the data from various sources under one unified model.
-
Select the Load Dataset Into Layer option to load an existing dataset from the Working with Datasets directly into your Graphmart.
-
Select the Data Transformation Layer option if you would like to enhance your Graphmart dynamically by adding steps for loading, creating, or inferring additional data, create Elasticsearch indexes, validating or exporting data, creating views, and running custom SPARQL Best Practices and Query Templates queries to clean and transform the data.
-
-
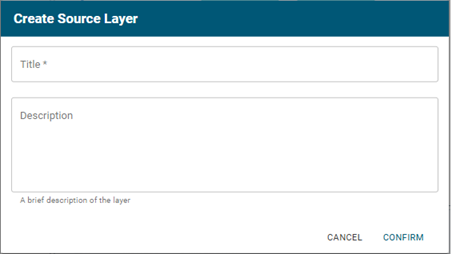
For example, if you selected the Source Layer option, specify a name for the layer in the Title field and an optional description in the Description field. Click Confirm.
-
In the graphmart object tree panel on the left, the new layer item appears as a child item under Data Layers. The layer frame on the right allows you to get started by adding source data to the layer. See the topic Loading Data for instructions on loading data into different types of data layers.
-
Once the layer has been created, go to the Settings tab:
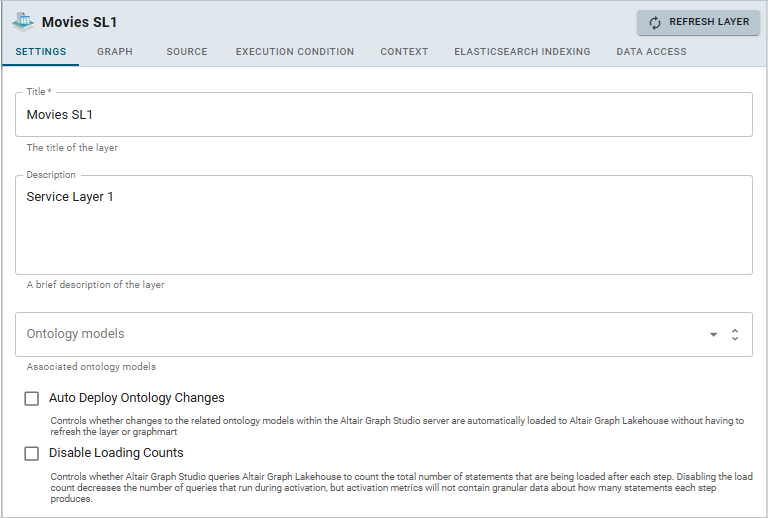
- Determine how you want to control changes to this layer's dependent data models:
- If you want Graph Studio to automatically deploy to Graph Lakehouse any changes to the related models without having to manually refresh the layer or graphmart, select the Auto Deploy Ontology Changes checkbox.
The Manual Refresh Graphmart setting on the graphmart must be disabled for automatic deployment of models to work. See Graphmart Settings Reference for information about graphmart settings.
- If you want model changes to be deployed to Graph Lakehouse only when this layer (or entire graphmart) is refreshed or reloaded, leave the Auto Deploy Ontology Changes checkbox empty (disabled).
- If you want Graph Studio to automatically deploy to Graph Lakehouse any changes to the related models without having to manually refresh the layer or graphmart, select the Auto Deploy Ontology Changes checkbox.
- Determine whether to Disable Loading Counts for this layer. This setting controls whether Graph Studio periodically sends COUNT queries to Graph Lakehouse while this layer is reloading or refreshing. Disabling the load counts may increase load performance as it decreases the number of queries that are executed during loads.
- Click Refresh to update the new layer in the graphmart.
The new layer becomes the last layer in the graphmart. If you want to change the order of the layers, you can click on the layer name or icon and drag the layer up or down. Data layers are processed from top to bottom.
The Refresh icon (![]() ) on the new layer indicates that the layer is out of sync with the data that is in Graph Lakehouse. Once you configure the new layer and add data processing steps, you can click the Reload button (
) on the new layer indicates that the layer is out of sync with the data that is in Graph Lakehouse. Once you configure the new layer and add data processing steps, you can click the Reload button ( ) at the top of the screen to reload the entire graphmart, or you can click the Refresh icon (
![]() ) on the layer to reload only that layer.
) on the layer to reload only that layer.
See Loading Data for instructions on loading data into layers.
See Adding Steps to Layers for instructions on creating steps.