Importing an Existing Dataset (FLDS)
Follow the instructions below to add an existing FLDS to the Datasets catalog. Make sure that the FLDS meets the following File Requirements.
File Requirements
To add an FLDS to the Datasets catalog, the location of the files, the file format, and the directory structure must meet the following requirements:
- Supported File Locations: Files can be staged on a configured file store or they can be uploaded from your computer as a .zip file.
- Supported Directory Structure: FLDS directories should contain an flds.trig file, an onts directory that includes the model .trig file, and an rdf.ttl or rdf.ttl.gz directory that contains the data files. For example:
Models must be in TriG format, regardless of the file type of the data files.
LoadEmployees_f7b1f
├── flds.trig
├── onts
│   └── Employees.trig
└── rdf.ttl.gz
    └── Loadnew_employees_8be23.ttl.gz
	 └── 20191021034225.ttl.gz
	     └── part-00000.ttl.gz
	     └── part-00001.ttl.gz
             └── part-00003.ttl.gz
Importing an FLDS
Follow the steps below to import an FLDS from the file store or from a .zip file on your computer.
- In the Anzo application, expand the Blend menu and click Datasets. Anzo displays the Datasets screen, which lists the catalog of datasets. For example:
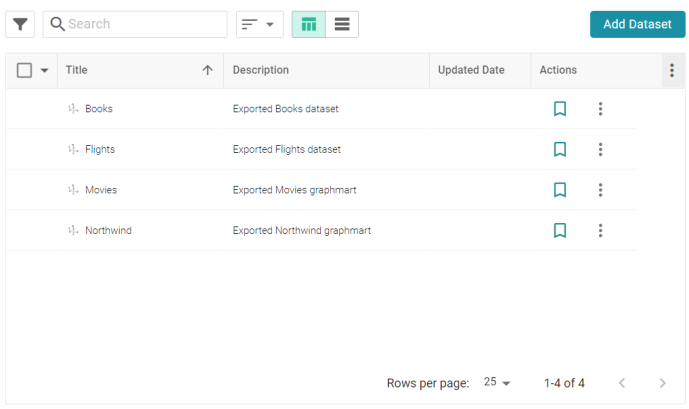
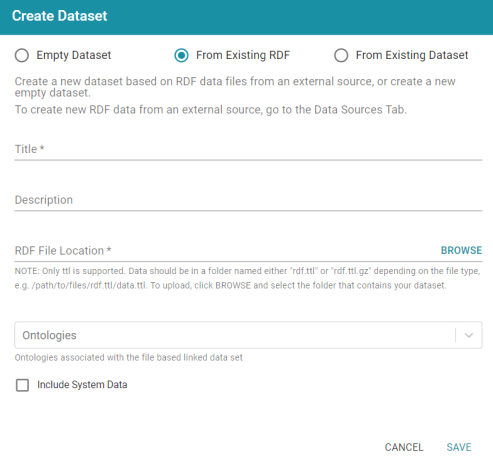
- On the Datasets screen, click Add Dataset. Anzo opens the Create Dataset dialog box.
- Select the From Existing Dataset radio button.
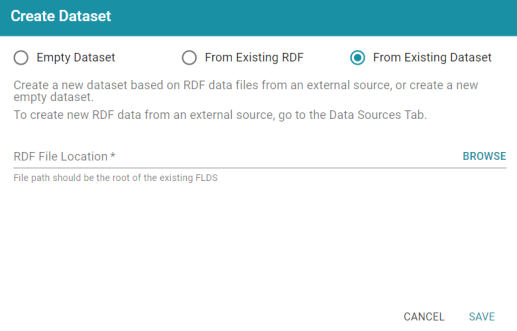
- Click the RDF File Location field to open the File Location dialog box.
- Follow the appropriate steps below depending on whether the FLDS is on your computer or the shared File Store:
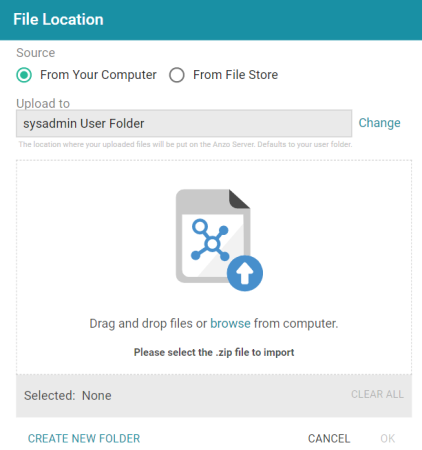
If the file is on your computer:
- As a best practice, check the upload location that is listed in the Upload To field by hovering your pointer over the value to view the tooltip. Make sure the upload location is a directory on the shared file store and not in the server installation path. If the file is not uploaded to the shared file store it is not accessible by applications like AnzoGraph. In addition, other users cannot create graphmarts from the data source because they typically do not have access to the file location.
For example, viewing the Upload To location for the screen above shows that the file will be uploaded to the server installation path,
/opt/Anzo/Server/data...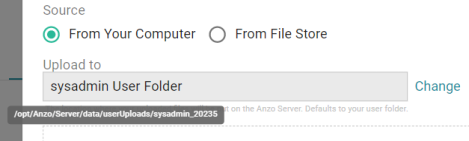
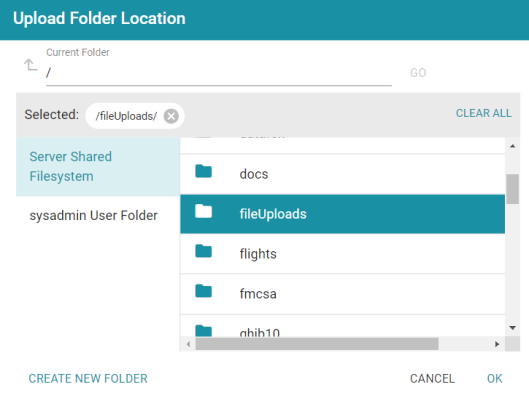
If your Upload To location is configured to upload the file to the server installation path, click Change and select an upload location that is on the shared file store. For example, the image below shows the Upload Folder Location dialog box that is presented after clicking Change. A folder called fileUploads is selected on the shared store.
- Drag and drop the file onto the screen or click browse to navigate to the file and select it. Anzo attaches the file and the OK button becomes active.
- Click OK. The file is added to the RDF File Location field on the Create Dataset screen.
If the files are on the File Store:
- Click the From File Store radio button. Anzo displays the file selection dialog box. For example:
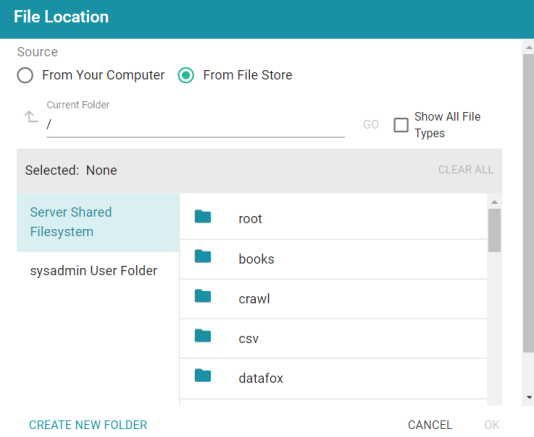
- On the left side of the screen, select the file store that hosts the FLDS. On the right side of the screen, navigate to the root directory for the dataset. This is the directory that contains the flds.trig file, the onts directory, and the rdf.ttl or rdf.ttl.gz directory.
- Select the root directory for the FLDS and then click OK. The location is added to the RDF File Location field on the Create Dataset screen.
- As a best practice, check the upload location that is listed in the Upload To field by hovering your pointer over the value to view the tooltip. Make sure the upload location is a directory on the shared file store and not in the server installation path. If the file is not uploaded to the shared file store it is not accessible by applications like AnzoGraph. In addition, other users cannot create graphmarts from the data source because they typically do not have access to the file location.
- Click Save to import the FLDS and return to the Datasets screen.
You can now select the dataset in the catalog and create a new graphmart or add the dataset to an existing graphmart. See Creating a Graphmart from a Dataset or Adding a Dataset to an Existing Graphmart for instructions.