Creating a Graphmart
This topic provides instructions for creating and activating Graphmarts.
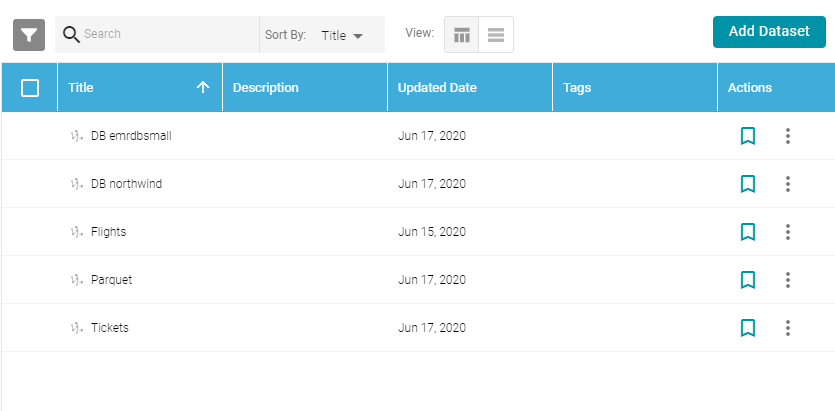
- In the Anzo application, expand the Blend menu and click Datasets. Anzo displays the Datasets screen, which lists the catalog of data sets. For example:
- In the Dataset catalog, click the checkbox next to each data set that you want to add to the new Graphmart. Hover the pointer over an item to display the checkbox in the left column. Anzo adds the data sets to the shopping cart and additional icons become available at the top of the screen. For example:
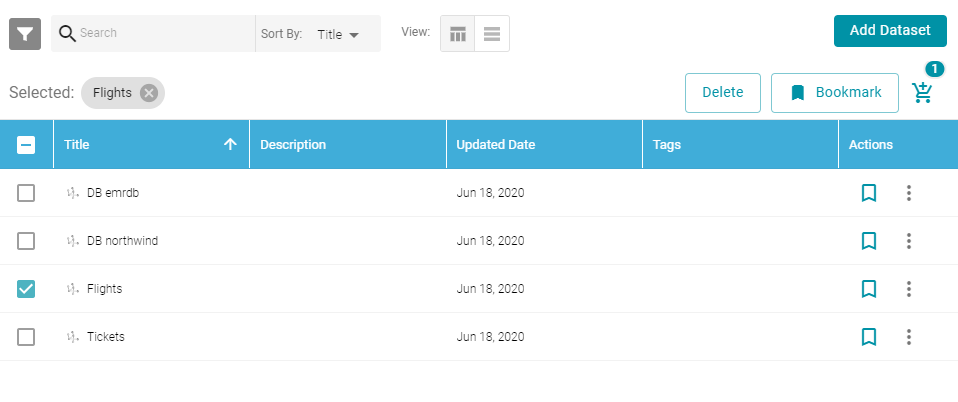
- Click the shopping cart icon (
 ) at the top of the screen. Anzo displays the Create Graphmart screen. For example:
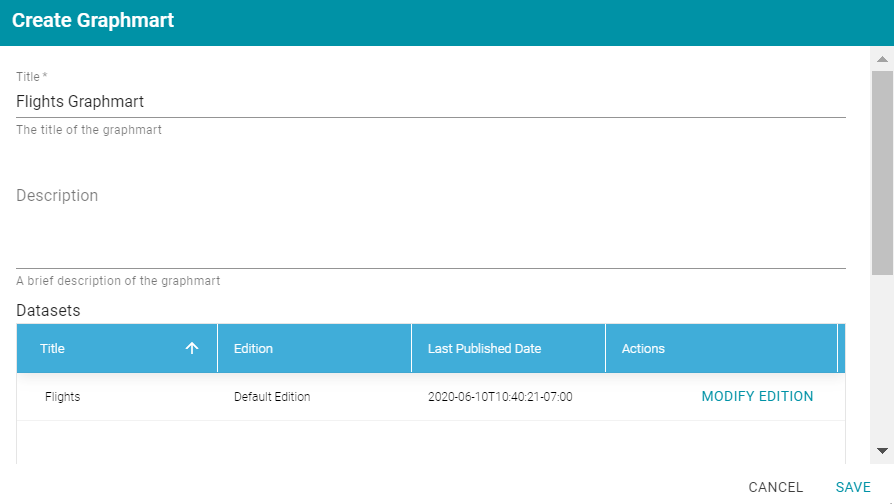
Anzo populates the Title field by appending "Graphmart" to the data set name.
- On the Create Graphmart screen, you have the option to edit the Title and add an optional Description.
- By default the current working edition (Managed Edition) of the data set is selected. If you want to select a different edition, follow these steps:
- click Modify Edition. The Modify Edition dialog box is displayed. For example:
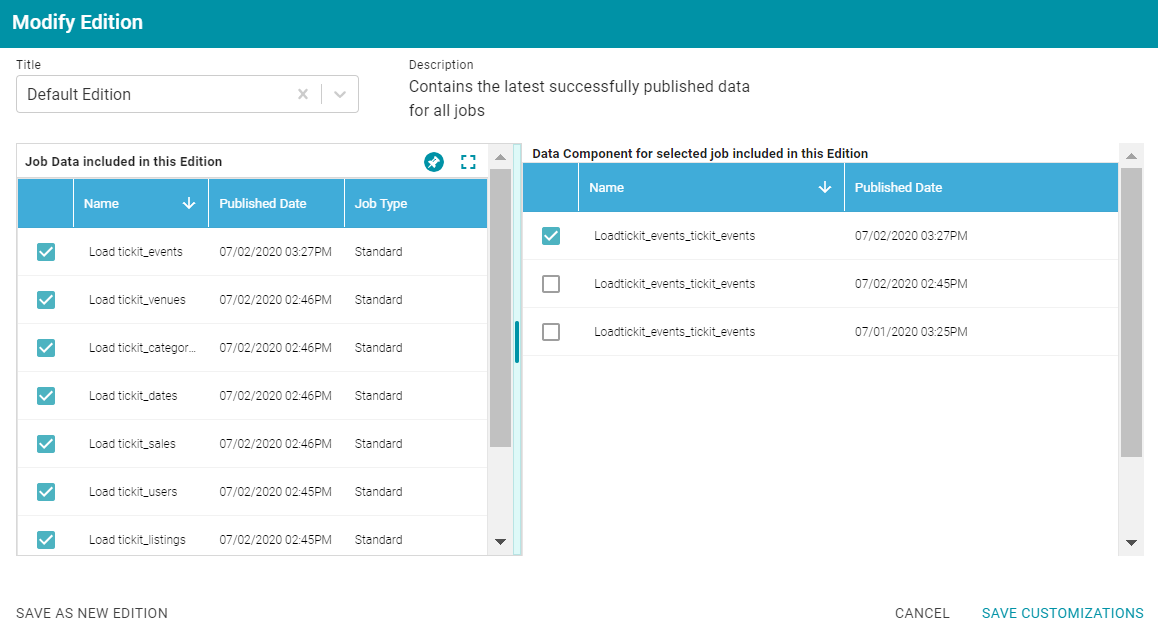
- To choose a different edition, click the drop-down list at the top of the screen and select the edition to use.
- If you want to make changes to the selected edition, select or clear the Job checkboxes on the left side of the screen. Each time you select a Job checkbox, the data components for that job are displayed on the right side of the screen. Select or clear the Data Component checkboxes to include or exclude components.
When you make changes to an edition while creating or changing a graphmart, Anzo creates a copy of the edition (with the changes) and uses the copy as a data set in the graphmart. The original published edition remains unchanged. For more information about changing or creating editions, see Managing Pipeline Editions.
- When you are finished making changes, choose one of the following options for saving the changes:
- If you want to save the changes as a new Saved Edition, click Save As New Edition. Anzo displays the Create New Edition dialog box. Specify a Title and optional Description for the edition, and click Save.
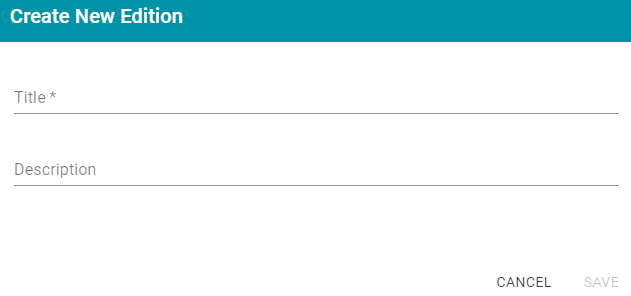
- If you want to save the changes as a copy of the existing edition, click Save Customizations. Anzo clones the edition and adds the copy to the list on the screen. For example, the image below shows a Saved Edition that has been modified. A copy of the edition with the modifications was added to the Datasets list.

- If you want to save the changes as a new Saved Edition, click Save As New Edition. Anzo displays the Create New Edition dialog box. Specify a Title and optional Description for the edition, and click Save.
- click Modify Edition. The Modify Edition dialog box is displayed. For example:
- Click Save when you are ready to create the Graphmart. Anzo creates the Graphmart and displays the Graphmart Overview screen. For example:
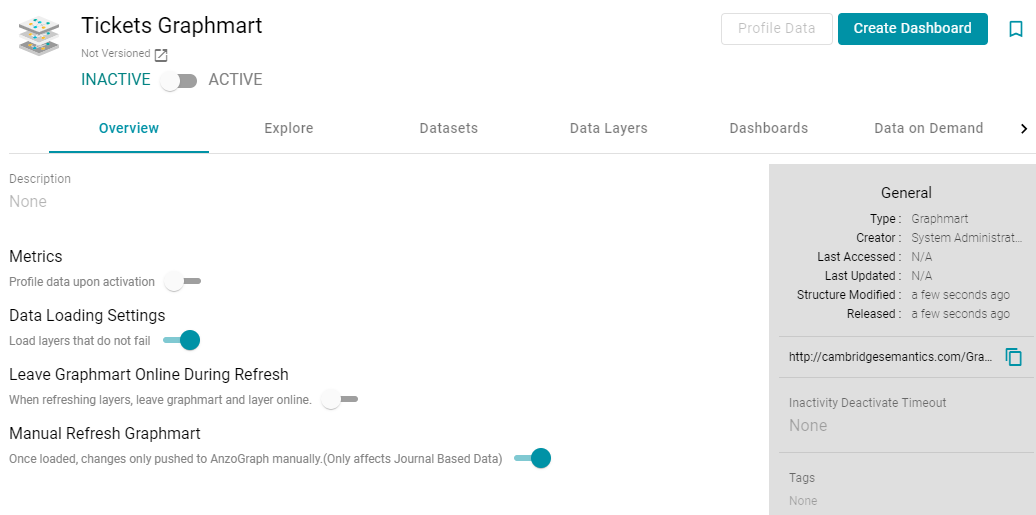
- If necessary, modify any of the following Data Load and Graphmart settings:
- Profile data upon activation: This setting is disabled by default and controls whether a graph data profile is automatically generated after the Graphmart is activated. For information about graph data profiles, see Generating a Graph Data Profile.
- Load layers that do not fail: This setting is enabled by default and controls what to do if a Data Layer fails during Graphmart activation. When enabled (the default setting), the Graphmart is configured to load all Data Layers that succeed and skip any layers that fail. When disabled, the entire Graphmart activation is aborted if any layer fails.
- Leave Graphmart Online During Refresh: This setting is disabled by default and controls whether a Graphmart remains online while it is being refreshed in AnzoGraph. When this option is enabled, if a user clicks the Refresh button to refresh a Graphmart (or the Refresh icon on a Data Layer), Anzo copies the existing Data Layers into temporary graphs so that the data remains online while the original graphs are refreshed. When the refresh is complete, the temporary graphs are deleted.
This setting applies only to Refresh operations. If Leave Graphmart Online During Refresh is enabled and a user clicks Reload, the Data Layers will not remain online. During reloads all of the data is dropped and then loaded again.
- Manual Refresh Graphmart: This setting is enabled by default and controls whether changes to a data set in this Graphmart are automatically deployed to AnzoGraph without requiring a manual refresh or reload of the Graphmart. This setting only applies to Graphmarts with Load Data Steps that load a journal-based data set, such as a system metadata graph. When this option is enabled, changes to the journal-based data set are only deployed to AnzoGraph when the Graphmart is manually reloaded or refreshed. When this option is disabled, changes to the data set are automatically loaded to AnzoGraph without requiring a manual refresh.
- You can add any number of data layers to enhance the data in the Graphmart. For information, see Adding Data Layers to Graphmarts.
- When you are ready to load the Graphmart to AnzoGraph, slide the slider at the top of the screen from Inactive to Active.
If you have more than one static AnzoGraph engine configured or you have a Cloud Location configured for dynamic AnzoGraph deployments, Anzo displays a Select an AnzoGraph Query Engine dialog box. Click the drop-down list to select the engine to load the graphmart to, or select Spin up new AnzoGraph (if available) to deploy a new instance. Then click OK.
AnzoGraph loads the Graphmart into memory and executes any Data Layer steps.
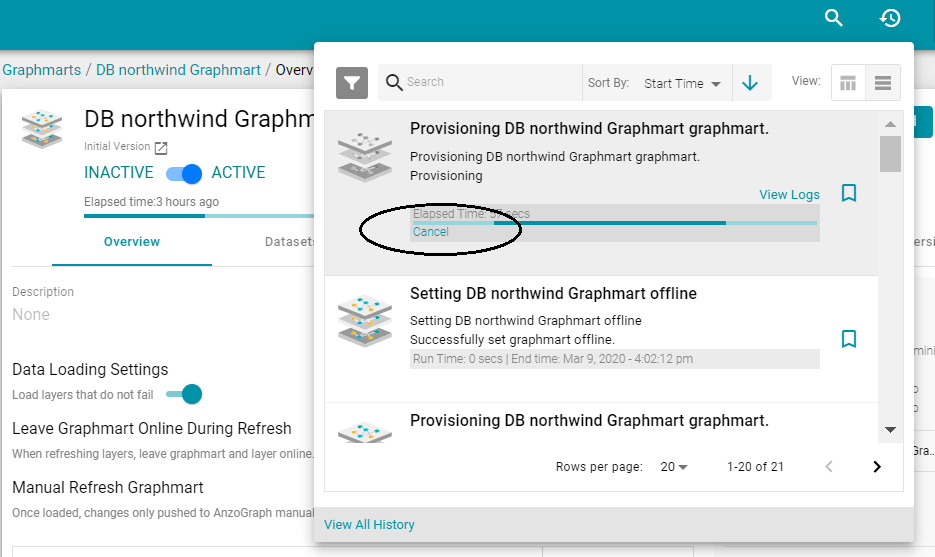
If you want to cancel Graphmart activation while data is loading, open the Activity Log by clicking the Activity Log icon (![]() ) in the main menu bar. Then click Cancel for the Provisioning...graphmart activity. For example:
) in the main menu bar. Then click Cancel for the Provisioning...graphmart activity. For example:
Once the Graphmart is activated, the data is available to access and analyze. For more information, see Accessing and Analyzing Data.