Adding Data Layers to Graphmarts
Follow the steps below to add a Data Layer to a Graphmart.
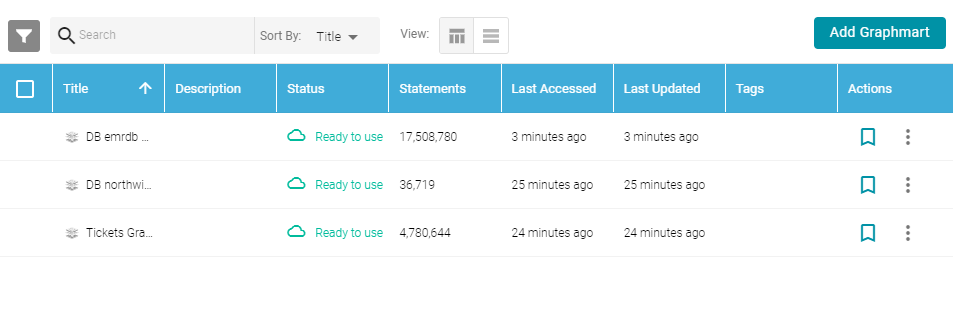
- In the Anzo application, expand the Blend menu and click Graphmarts. Anzo displays a list of the existing graphmarts. For example:
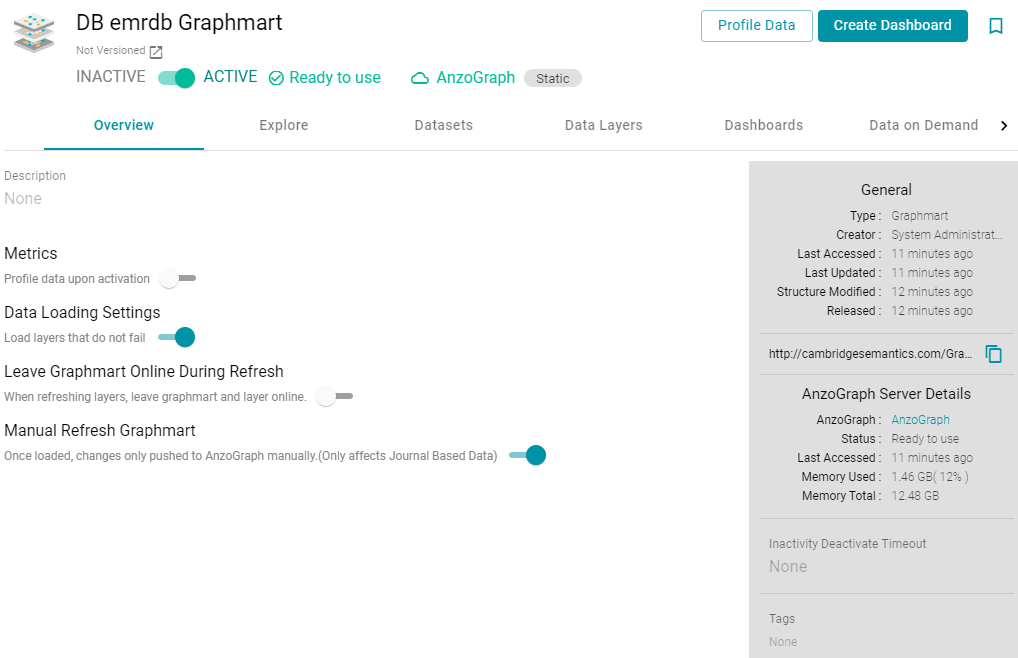
- On the Graphmarts screen, click the name of the graphmart for which you want to add a data layer. Anzo displays the graphmart overview. For example:
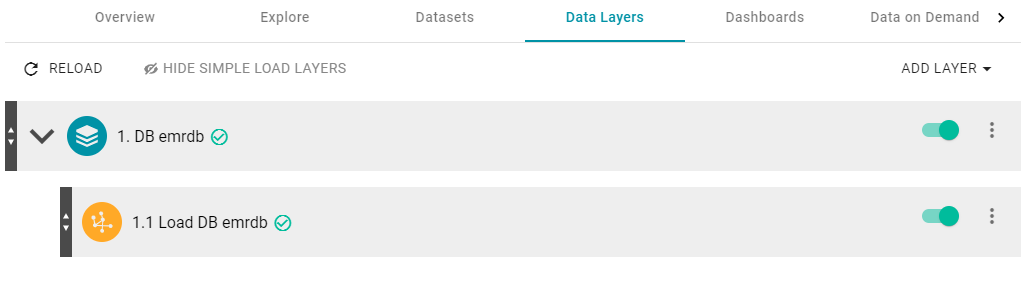
- Click the Data Layers tab. Anzo displays the existing data layers. For example:
- Follow the appropriate steps below, depending on whether you want to create a new layer from scratch or copy an existing layer to reuse. Click Create a New Layer or Copy an Existing Layer to expand the text and view the steps for that option:
 Create a New Layer
- To create a new layer, click Add Layer and select New Layer. Anzo displays the Create data layers details screen.
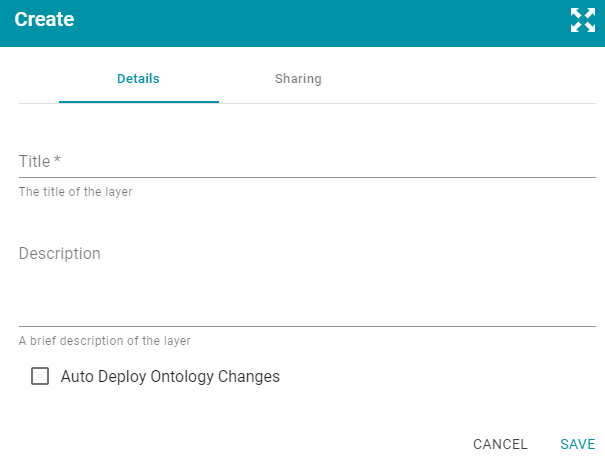
- Specify a name for the layer in the Title field and an optional description in the Description field.
- Specify how to control changes to the layer's dependent data models:
- If you want Anzo to automatically deploy to AnzoGraph any changes to the related models without having to manually refresh the layer or graphmart, select the Auto Deploy Ontology Changes checkbox.
Important: The Manual Refresh Graphmart setting on the graphmart must be disabled for automatic deployment of models to work. See Creating a Graphmart for information about graphmart settings.
- If you want data model changes to be deployed to AnzoGraph only when the layer or graphmart is manually refreshed or reloaded, leave the Auto Deploy Ontology Changes checkbox empty (disabled).
- If you want Anzo to automatically deploy to AnzoGraph any changes to the related models without having to manually refresh the layer or graphmart, select the Auto Deploy Ontology Changes checkbox.
- Click Save to add the new layer to the graphmart and return to the Data Layers screen.
Copy an Existing Layer- If you want to clone an existing layer, click Add Layer and select Add Existing. Anzo opens the Select a value to add dialog box, which lists the existing layers for all graphmarts. For example:
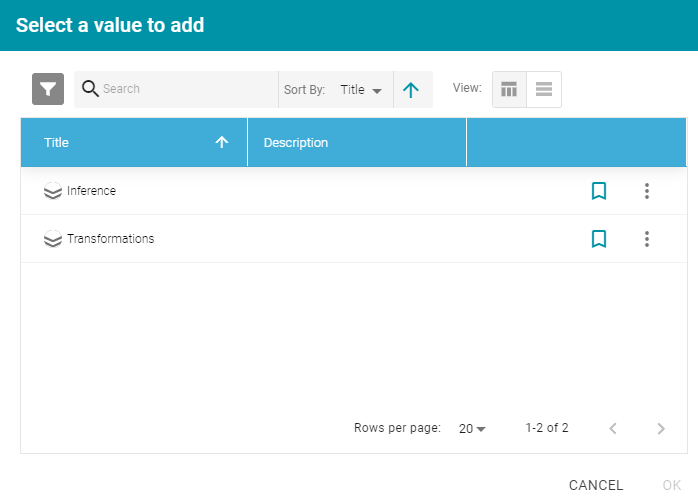
- Select the layer that you want to copy and click OK. Anzo displays the Clone dialog box, which asks if you want to copy the access control list (ACL) from the existing layer.
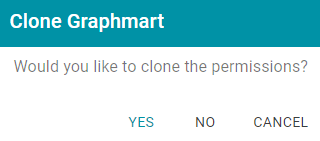
- On the Clone dialog box, click Yes to copy the ACL configuration from the existing layer or click No to copy the layer without the ACL configuration. Anzo clones the layer and any steps that the layer contains, adds the copy to the graphmart, and returns to the Data Layers screen.
- To create a new layer, click Add Layer and select New Layer. Anzo displays the Create data layers details screen.
- Anzo adds the new layer as the last layer in the graphmart. If you added a new layer by making a copy of an existing layer, Anzo adds "Cloned" to the data layer title and description with a timestamp that indicates when the layer was copied. For example:
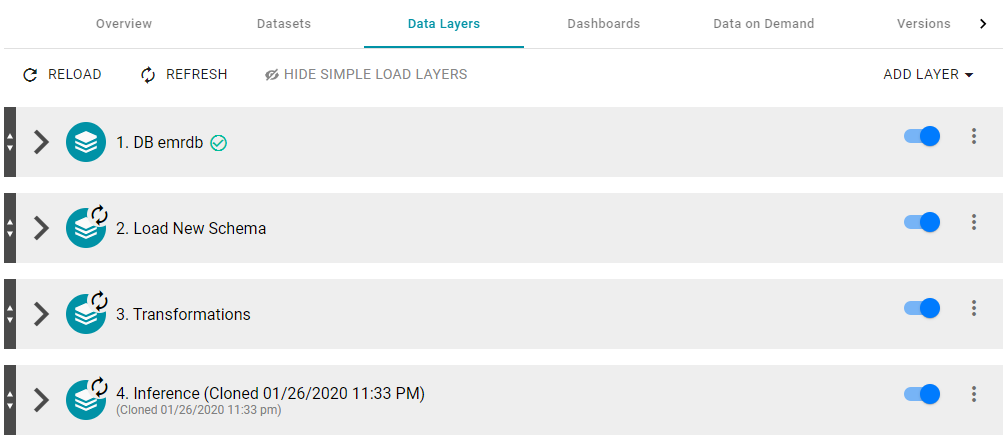
If you want to edit the title or description, click the menu icon on the right of the layer and select Edit. Modify the title or description values and click Save. If you want to change the order of the layers in the graphmart, you can click the black bar on the left side of a layer and drag the layer up or down. Data layers in a graphmart are processed from top to bottom.
- Next, add steps to the layer that will perform the data processing operations, such as loading, creating, deleting, or changing the data. See Adding Steps to Data Layers for instructions.
The Refresh icon (
 ) on the new layer indicates that the layer is out of sync with the data that is in AnzoGraph. Once you add data processing steps to the layer, you can click the Reload button (
 ) at the top of the screen to reload the entire Graphmart, or you can click the Refresh button () to process only the layer or layers that are out of sync.